Turn the rifle scope turrets in the direction you want the bullet impact to move. If shots hit low, turn the elevation dial “UP” (usually counter-clockwise). If shots hit left, turn the windage dial “R” (usually counter-clockwise). Most scopes adjust 1/4 inch per click at 100 yards, following the “move the group” rule.”
Understanding Scope Turrets and Their Functions
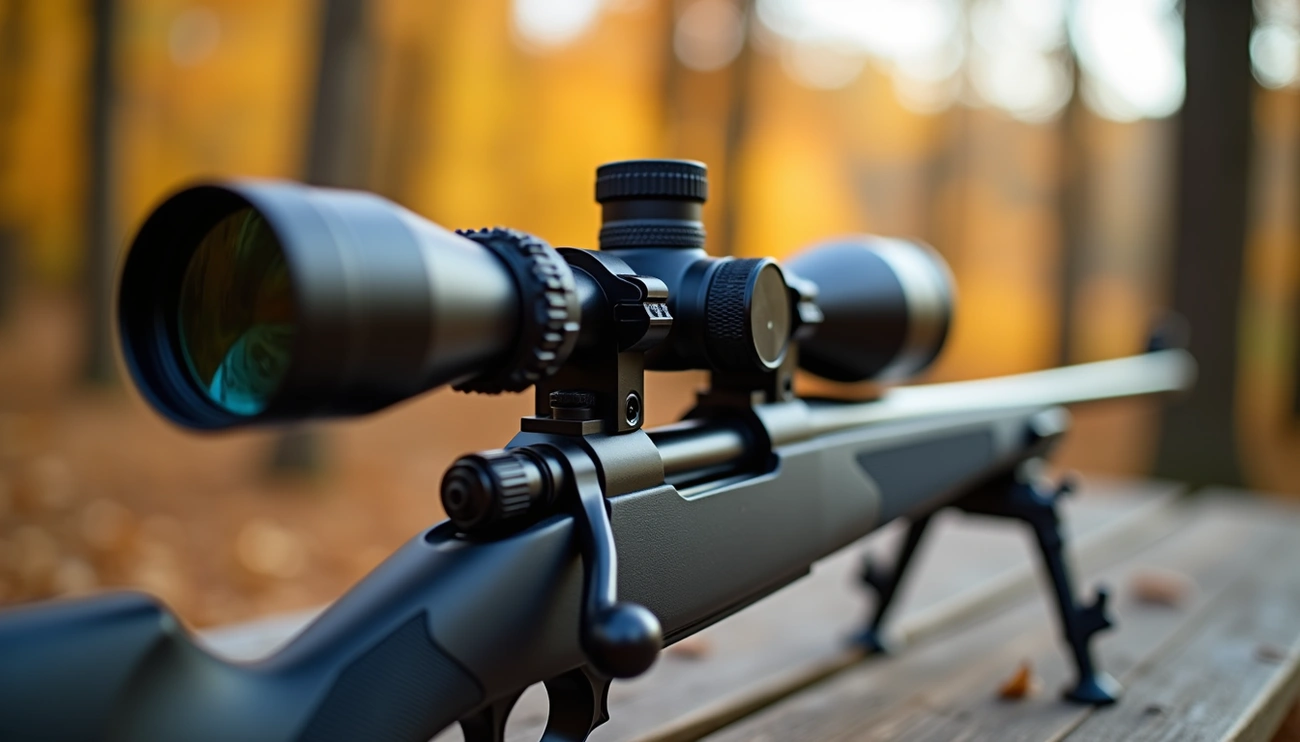
The mechanical components of a rifle scope might seem mysterious, but understanding how turrets function is essential for making accurate scope adjustment. Most rifle scopes feature multiple adjustment dials that control different aspects of your sight picture and point of impact.
Elevation turret: up and down adjustments
The elevation turret sits on top of your scope and controls vertical adjustments of your reticle. This crucial dial compensates for bullet drop over distance, which occurs as gravity pulls your bullet downward during flight. As you turn the elevation turret, it physically moves the internal mechanism to raise or lower where your bullet hits. Think of it as teaching your scope about gravity – the farther your target, the more elevation adjustment you’ll need.
Windage turret: left and right adjustments
Located on the right side of most scopes, the windage turret handles horizontal adjustments. This dial allows you to compensate for wind drift or barrel imperfections that cause bullets to impact left or right of your aim point. For precision shooters, windage adjustments are often equally important as elevation changes since crosswinds can significantly impact bullet trajectory.
Parallax and magnification rings explained
Parallax occurs when your reticle and target appear on different focal planes, causing accuracy issues at longer distances. The parallax adjustment dial, typically located opposite the windage turret, aligns these planes so both reticle and target remain in focus simultaneously. Unlike focusing rings, parallax correction isn’t merely about image clarity – it prevents the apparent movement of your reticle relative to your target when you shift your eye position.
Magnification rings, meanwhile, control your scope’s zoom level but don’t affect point of impact like the other adjustments.
How the erector tube moves inside the scope
Inside your scope lies an erector tube that contains several lenses. When you adjust the turrets, you’re moving this tube against a spring system. The elevation and windage screws press against this erector assembly, shifting the tube’s position. Essentially, turning the adjustment knobs pushes or pulls the erector tube, changing the angle at which light travels through your scope, subsequently altering where your reticle appears relative to the target.
Which Way to Turn: Scope Adjustment Direction Explained
Turning your scope turrets in the correct direction can make the difference between frustration and successful zeroing. Let’s demystify the process of scope adjustment direction once and for all.
Elevation scope adjustment: which way to turn
The elevation turret sits on top of your scope and controls vertical bullet placement. Think of it this way: to move your bullet’s impact UP, turn the elevation turret COUNTER-CLOCKWISE (or in the direction marked “UP”). Conversely, if your shots are hitting too high, turn the elevation turret CLOCKWISE (or in the direction marked “DOWN”) to lower the point of impact.
Remember that one click typically represents ¼ MOA adjustment, allowing for precise control over your bullet’s vertical placement. Generally, this rule applies across most modern scopes, though always check your specific model’s manual for confirmation.
Windage scope adjustment: which way to turn
For horizontal adjustments, the windage turret works with similar logic. To move your bullet’s impact to the RIGHT, turn the windage turret CLOCKWISE (or in the direction marked “R”). To move your bullet’s impact to the LEFT, turn the windage turret COUNTER-CLOCKWISE (or in the direction marked “L”).
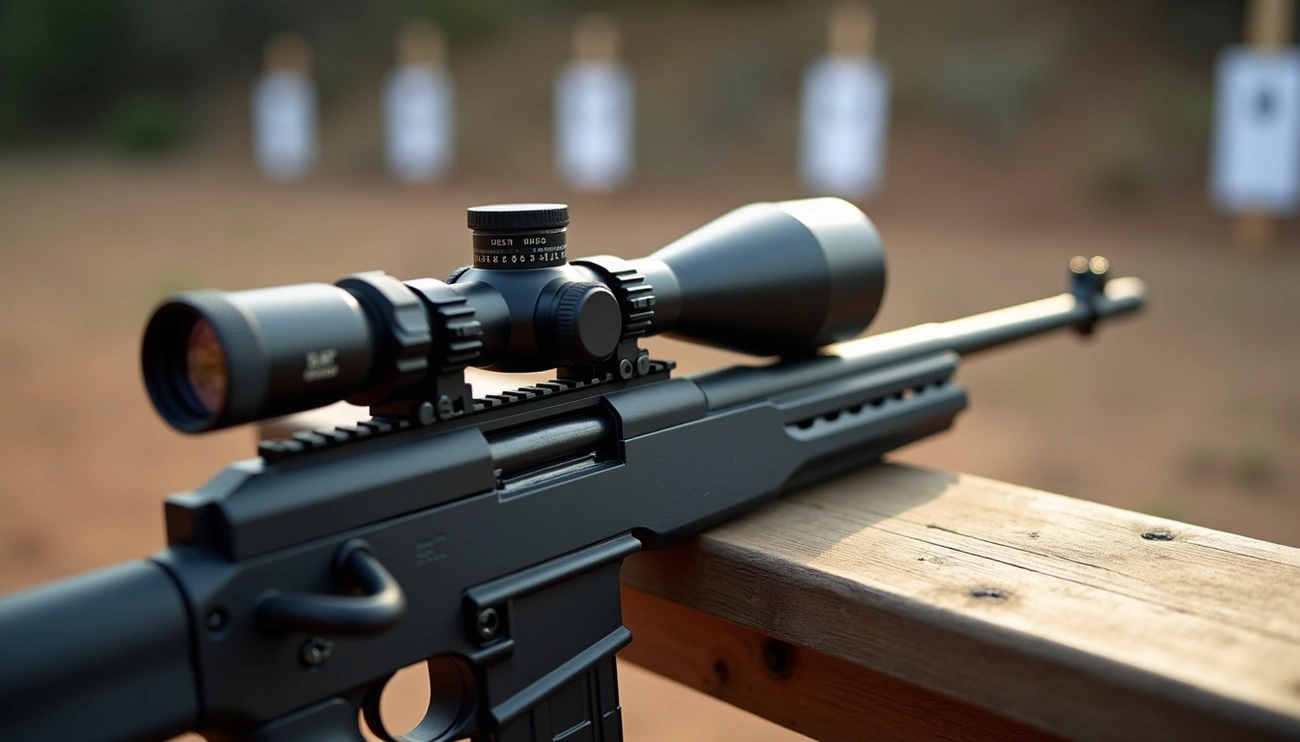
How to read turret markings correctly
Most scope turrets feature directional arrows and labels indicating which way to turn. These markings will typically show “UP” and “DOWN” on the elevation turret and “L” and “R” on the windage turret. Additionally, your turrets will be calibrated in either Minutes of Angle (MOA) or Milliradians (MILs). MOA is favored by American hunters, while MILs is preferred by military personnel. Both systems work effectively—it’s simply a matter of preference and application.
Common confusion with clockwise vs counterclockwise
The most common source of confusion comes from misunderstanding what exactly moves when you adjust turrets. Remember this key concept: turret movements adjust where the bullet impacts, not where the scope points. One helpful mental model is to imagine the turrets as screws—when turning either turret, the bullet will move in the direction a screw would move for that turning motion. Another approach is even simpler: just turn the dial in the direction you want the bullet to go.
Step-by-Step Guide to Sighting In Your Scope
Proper sighting in of your rifle scope requires methodical steps rather than random adjustments. Following a structured process ensures accurate results with minimal ammunition waste.
Start with bore sighting
Bore sighting aligns your scope with your rifle barrel without firing a shot. Remove the bolt, place the rifle on a stable rest, look through the bore at a target (typically 25-100 yards away), then adjust your scope’s reticle to match the same target. This critical first step gets you on paper quickly, saving time and ammunition.
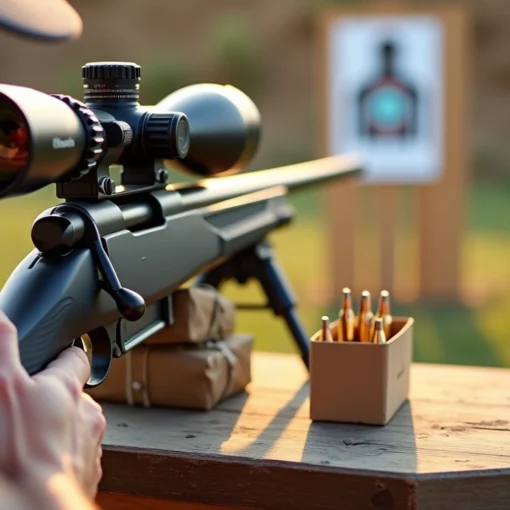
Fire a three-shot group
Next, fire three shots at your target from a stable position. Use a shooting bench, bipod, or sandbags to eliminate human error. A consistent three-shot group provides reliable data for adjustments. Some precision shooters prefer five-shot groups for greater statistical certainty.
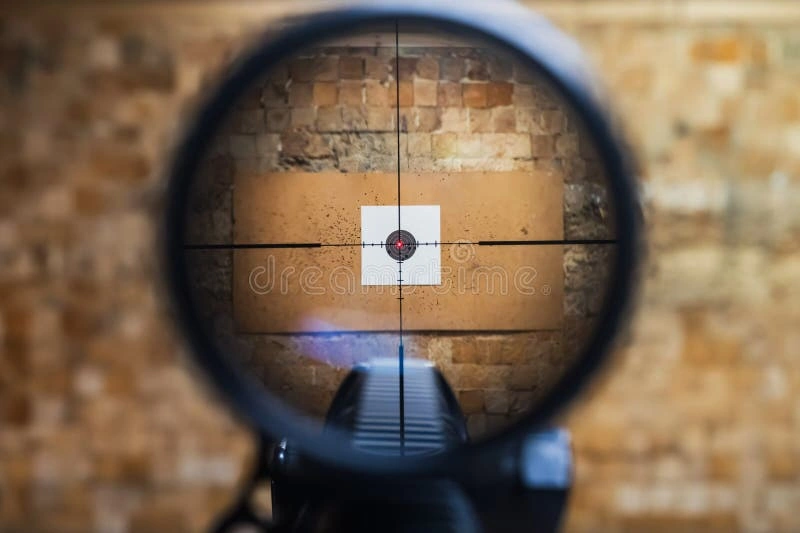
Measure point of impact vs point of aim
After firing, measure the distance between where you aimed (point of aim) and where your bullets hit (point of impact). Target grid lines at 1-inch intervals simplify measurement.
Adjust turrets based on MOA or MIL values
Calculate necessary adjustments based on your scope’s measurement system. For MOA scopes, one click typically moves impact 1/4 inch at 100 yards (four clicks per inch). For MIL scopes, understand that 1 MIL equals approximately 3.6 inches at 100 yards.
Repeat and confirm zero
Fire another group after adjustments to verify your zero. Continue this process until your point of aim matches your point of impact.
Avoid These Common Mistakes When Adjusting Your Scope
Even the best scope won’t help if you make fundamental adjustment mistakes. Having sighted in dozens of rifles over the years, I’ve encountered almost every scope adjustment error possible.
Overcorrecting with too many clicks
Impatience leads many shooters to make excessive turret adjustments. Instead of multiple large corrections, make small, incremental changes—especially when fine-tuning. The biggest error occurs when shooters rush through adjustments without allowing enough time to evaluate results.
Not using a stable shooting platform
Hand-holding your rifle during zeroing introduces variables that mask true scope adjustment needs. The Range Systems Sight-Bloc provides three different heights for stable positioning. Without proper support, you’ll chase your zero endlessly as your natural movement creates inconsistent data.
Ignoring parallax error
Parallax becomes increasingly problematic beyond 150 yards with magnification over 10x. This error occurs when your reticle and target aren’t focused on the same optical plane. Even slight head movements create point-of-impact shifts that worsen at distance—a 1-inch error at 100 yards becomes a 6-inch miss at 600 yards.
Forgetting to reset turrets after adjustments
Many shooters fail to reset their turrets after zeroing. Furthermore, allowing turret rotation while removing caps can throw off zero by several inches at distance. Rushing this process, particularly in cold weather, creates unnecessary frustration.
Using the wrong magnification when zeroing
Zeroing should typically be done at maximum magnification for greatest precision. Lower power settings reduce your ability to place the reticle consistently on target.
Conclusion
Understanding the correct way to adjust your rifle scope eliminates frustration and saves both time and ammunition. Throughout this guide, we’ve seen how elevation and windage turrets control the vertical and horizontal movement of your bullet impact. Remember the golden rule: counter-clockwise turns move your impact point up or left, while clockwise turns shift it down or right.
Many shooters struggle needlessly because they overlook fundamentals like stable shooting platforms or proper turret direction. After years of making these same mistakes myself, I can assure you that mastering these basics dramatically improves shooting accuracy.
Patience certainly pays off when sighting in your rifle. Rather than rushing through with large adjustments, take your time with methodical bore sighting, consistent shooting groups, and incremental turret changes. This methodical approach might seem tedious at first, but it actually speeds up the zeroing process overall.
