Eye relief on a rifle scope means the distance between your eye and the scope’s eyepiece that still provides a full, clear sight picture. Proper eye relief, typically 3–4 inches on hunting scopes, prevents scope bite, improves shooting comfort, and ensures consistent accuracy under recoil.
What is Eye Relief on a Rifle Scope?
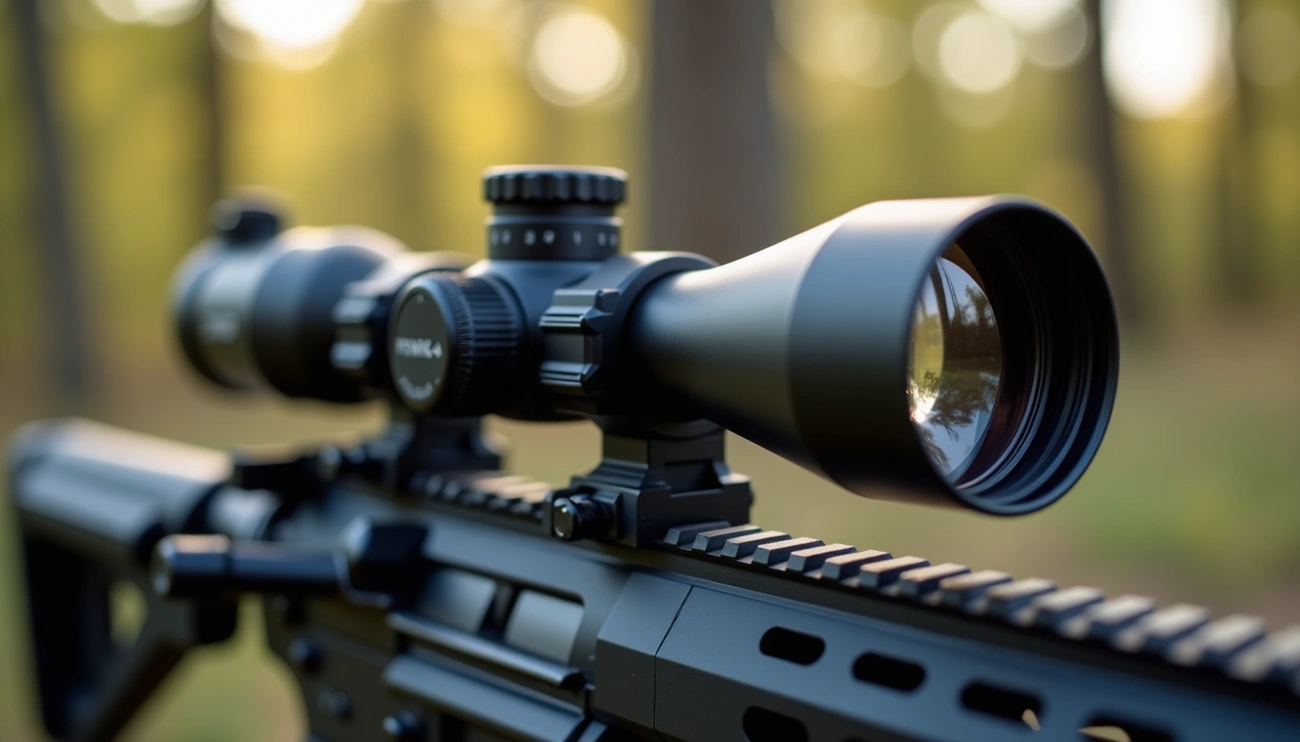
Eye relief represents a critical yet often overlooked aspect of rifle scope setup. In technical terms, eye relief is the precise distance from the outermost surface of your scope’s eyepiece lens to the position where your eye can capture the full viewing angle. This measurement is crucial for both comfort and safety when using any riflescope.
Definition and basic concept
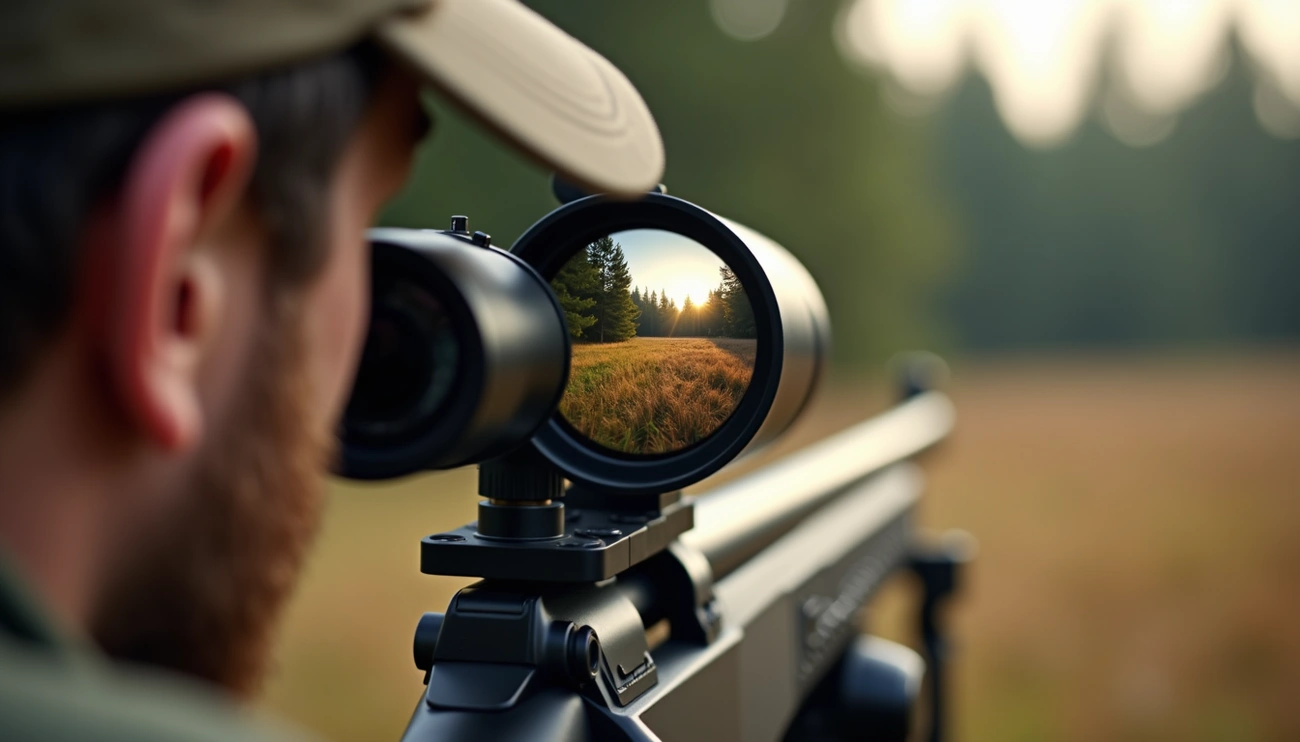
The fundamental concept of eye relief centers around optimal viewing distance. When your eye is positioned at the correct distance from the scope, you’ll see a bright, full image without distortion. If you position yourself incorrectly—either too close or too far—you’ll experience either a fuzzy image or an annoying black ring around your field of view, commonly called “scope shadow”.
This optimal distance isn’t arbitrary—it’s a calculated measurement based on the optical design of your specific scope. Eye relief typically ranges between one and four inches (25 to 100 mm) depending on the scope type and intended use. For most modern scopes, this distance falls between 3-5 inches, providing comfortable viewing space.
How it affects your field of view
Proper eye relief directly impacts what and how much you see through your scope. With correct positioning, your sight picture remains bright, clear, and complete. Consistency equals accuracy and speed—essential for hunting, target practice, and competition.
In contrast, incorrect eye relief creates several problems:
- Scope shadow or vignetting: A dark ring appears around the image, reducing your effective field of view
- Inconsistent sight picture: Forces you to adjust your head position, hurting accuracy
- Slower target acquisition: Makes it harder to quickly get on target
Additionally, proper eye relief ensures your head and cheek weld maintain the correct position with your eye centered behind the scope.
Common misconceptions
One prevalent misconception is that eye relief changes as you zoom in or out on a variable power scope. In reality, there is one fixed eye relief throughout the zoom range. What changes is how critical your eye placement becomes—it’s less forgiving at higher magnifications.
Another common misunderstanding involves confusing eye relief with exit pupil width. Although related, these are distinct properties—eye relief is about distance, whereas exit pupil concerns the width of the light cone available to your eye.
Many shooters also mistakenly mount scopes based on someone else’s eye relief preferences or adjust their head position to accommodate poorly positioned optics. The scope must be set specifically for your individual ergonomics and shooting style.
Why Eye Relief Matters for Shooting Accuracy and Safety
Proper eye relief isn’t just a technical specification—it’s a critical factor that directly affects both your shooting performance and personal safety. Let’s explore why this measurement matters so much for rifle shooters.
Avoiding scope bite and injury
The most compelling reason to care about eye relief is preventing the infamous “scope bite” or “scope eye.” This painful injury occurs when a scope is mounted with insufficient distance, forcing you to position your eye too close to the ocular lens. Upon firing, the rifle’s recoil drives the scope backward into your eyebrow or orbital area, potentially causing cuts, bruising, or even serious facial injuries.
For high-powered rifles with substantial recoil, anything under two inches of eye relief could result in injury. This risk increases dramatically with magnum calibers and when shooting at uphill angles, as eye relief naturally shortens when aiming upward.
Maintaining a consistent cheek weld
I’ve found that proper eye relief is essential for maintaining a consistent cheek weld—the critical contact point between your face and the rifle stock. With correct eye relief, my face naturally settles into the same position shot after shot, ensuring consistent accuracy.
Poor eye relief forces shooters to adjust their head position between shots, consequently changing the point of impact. If you’re hunching forward or craning your neck to see clearly through your scope, you’re likely compromising both comfort and accuracy. Moreover, this inconsistency makes follow-up shots unpredictable.
Impact on target acquisition speed
Essentially, when eye relief is set correctly, I can acquire targets much faster. The full, clear sight picture allows for immediate target identification without struggling to find the proper viewing angle.
Incorrect eye relief creates frustrating issues that slow you down:
- Dark shadows around the edges of your sight picture
- Blurry or distorted images requiring repositioning
- Uncomfortable shooting positions that can’t be maintained
For this reason, competitive shooters and hunters particularly benefit from proper eye relief, as it significantly enhances both speed and precision when engaging targets.
Types of Eye Relief and When to Use Them
Not all eye relief measurements are created equal. Understanding different types and when to use them can make a tremendous difference in your shooting experience, depending on your specific needs and equipment.
Standard eye relief: 3.5 to 4 inches
Standard eye relief typically measures between 3.5 to 4 inches and is commonly found on centerfire rifles. This conventional distance works perfectly for long-range shooting in open, flat areas and pairs well with medium-caliber firearms. I’ve found that standard eye relief scopes offer the highest possible magnification capabilities—a significant advantage for precision shooting. The primary drawback, nonetheless, is a relatively narrower field of view compared to longer eye relief options.
Long eye relief: 4.5 inches and above
Long eye relief extends beyond 4.5 inches and serves specific purposes in challenging shooting environments. These scopes excel in shorter-range shooting scenarios, particularly in areas with uneven terrain, hills, brush, and trees. The broader field of view enables rapid target identification—a crucial advantage when speed matters. Despite offering quicker acquisition, these scopes generally provide smaller magnification capabilities.
Choosing based on firearm type and recoil
Selecting the appropriate eye relief requires considering both your firearm type and expected recoil. For handguns, extraordinarily long eye relief is mandatory—often measured in feet rather than inches. Scout scopes need 8-12 inches (sometimes up to 14+ inches) to accommodate forward mounting. High-recoil rifles like .300 Win Mag or .338 Lapua demand 4-5+ inches of relief to prevent facial injuries. Shotguns used beyond fowl hunting benefit from at least 3.5 inches of eye relief. Ultimately, terrain also influences your choice—flat landscapes work with standard relief, whereas mountainous regions call for longer eye relief since relief naturally shortens when shooting upward.
How to Set and Test Eye Relief Properly
Setting up proper eye relief requires a systematic approach that ensures both comfort and safety. Let’s explore how to get it right the first time.
Performing the eye relief test
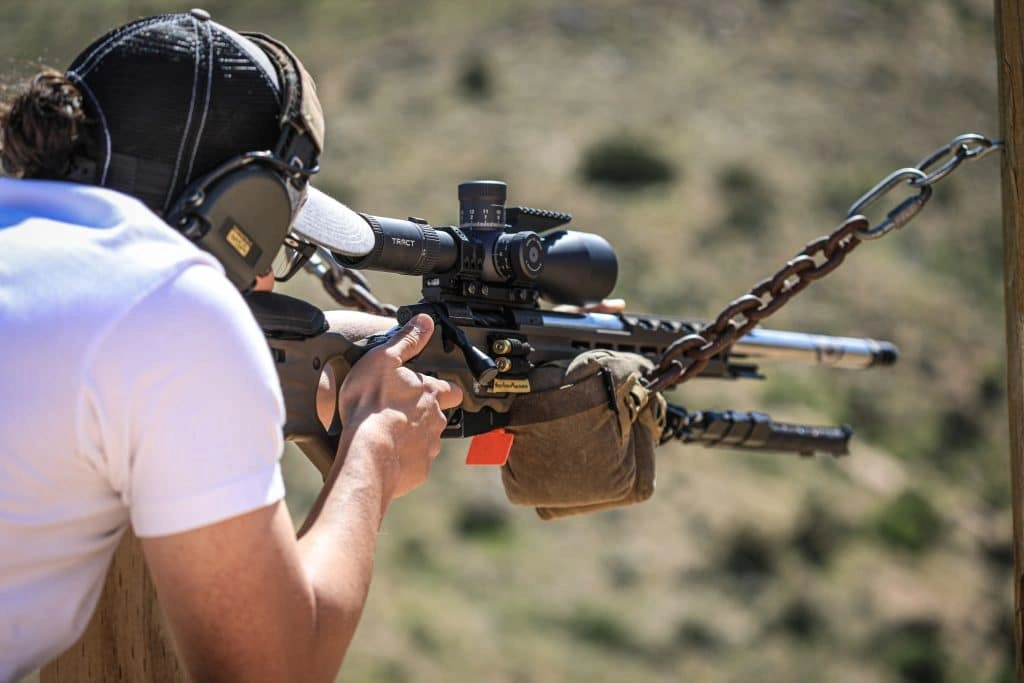
The fundamental eye relief test is straightforward yet critical. First, ensure your rifle is completely unloaded with the action open. Set your variable scope to its highest magnification setting, as this is where eye relief becomes most critical. Next, close your aiming eye, shoulder the rifle naturally, then open your eye. Ideally, you should immediately see a full, clear sight picture without black edges or shadowing. If not, you’ll need to adjust your scope position.
Adjusting for gear and shooting position
Your shooting position dramatically affects optimal eye relief. Initially, set your scope based on the position you use most frequently. Remember that prone positions typically bring your head closer to the scope, requiring it to be mounted slightly forward. Plus, don’t forget about your gear—hunting backpacks, thick clothing, or tactical equipment can all change how your eye aligns with the scope. Test your eye relief while wearing whatever gear you’ll actually use when shooting.
Tips for mounting your scope correctly
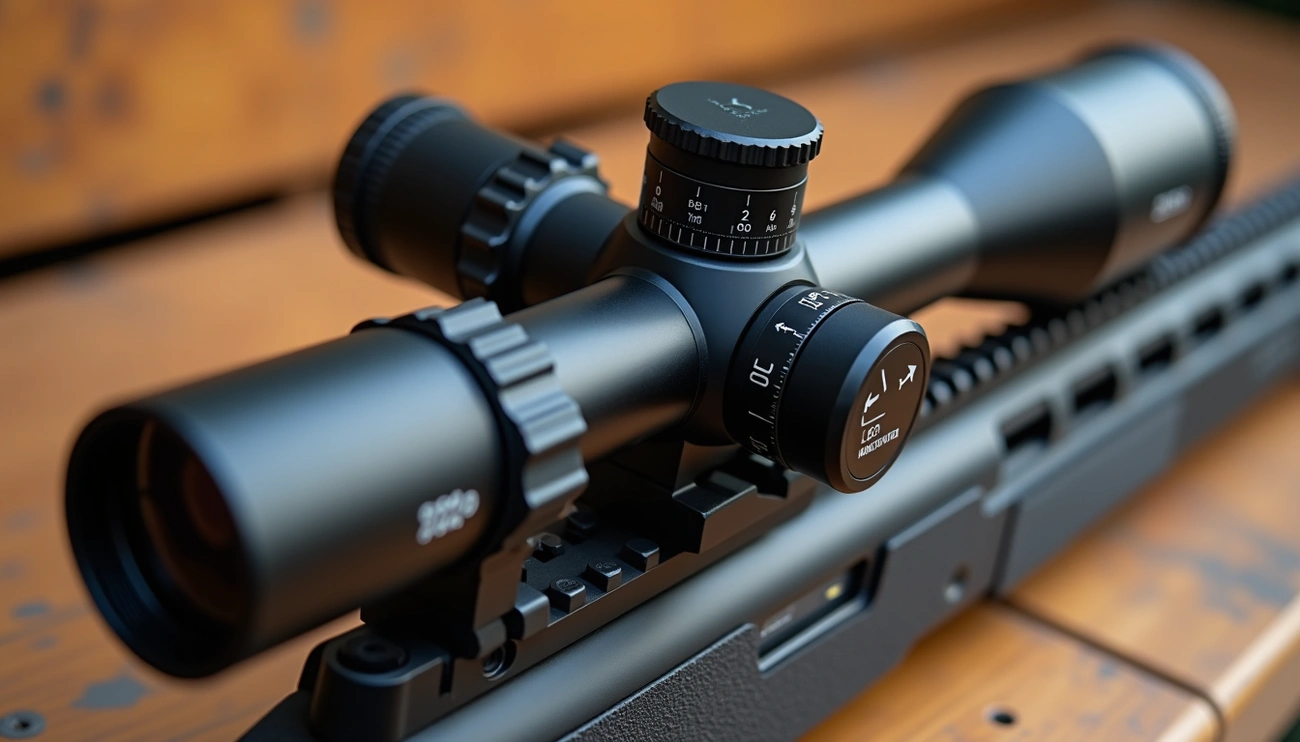
For proper mounting, place your scope in the rings with tops loosely attached so it can still move slightly. Position yourself comfortably behind the rifle, then adjust the scope forward or backward until you achieve a full sight picture. Make a pencil mark where the rear ring meets the maintube before tightening to ensure the scope doesn’t shift during installation. Throughout this process, avoid tightening rings against any sectional bends on the scope tube or allowing the objective to touch the barrel.
Common mistakes to avoid
Beginners often adjust their body position to accommodate poorly placed optics instead of adjusting the optic to fit their natural stance. Another frequent error is setting eye relief from an upright position but primarily shooting from prone. Be cautious about mounting a scope with insufficient relief on high-recoil rifles—this is how painful “scope bite” happens. Lastly, ensure your scope is perfectly level using a bubble level to prevent horizontal misses due to scope cant.
Conclusion
Eye relief stands as one of the most critical yet frequently overlooked aspects of rifle scope setup. Throughout this guide, we’ve seen that proper eye relief—typically between 3 to 5 inches—directly affects both shooting performance and personal safety.
Most importantly, sufficient eye relief prevents painful “scope bite” injuries while simultaneously allowing for consistent cheek weld and faster target acquisition. The difference between good and poor eye relief can literally mean the difference between hitting your target or missing entirely.
Standard eye relief works well for most centerfire rifles, whereas long eye relief proves better suited for high-recoil firearms and challenging shooting environments. Your specific shooting needs should determine which type serves you best.