Zero a rifle scope by aligning the reticle with the bullet’s point of impact, usually at 100 yards. Start from a stable shooting position, bore sight to get on target, fire a group, then adjust elevation and windage turrets until the group centers on your aiming point.
Why Zeroing Matters
Zeroing your rifle scope forms the foundation of shooting precision. Unlike other shooting skills, it’s not a training exercise or combat drill—zeroing is a fundamental maintenance procedure that ensures your entire shooting system works in harmony.
What is zeroing a rifle scope?
Zeroing a rifle scope means adjusting your optic so that your bullet impacts exactly where your reticle aims at a specific distance. This process aligns your rifle and optics into a single, dependable system. A true weapon zero is the calibration of sights so that when aligned with a target at a specified range, and with specific ammunition, a round fired from the weapon hits the aiming point within the margin of error. While beginners might view this as a tedious chore, experienced shooters understand it’s the critical first step toward consistent accuracy.
Point of aim vs. point of impact
Point of aim (POA) refers to where you’re aiming with the center of your reticle, whereas point of impact (POI) is where the bullet actually strikes the target. Ideally, these two points should align perfectly at your chosen zero distance. Furthermore, understanding this relationship becomes increasingly important as shooting distances increase. For instance, a rifle zeroed at 100 yards might have a completely different POI at 300 yards due to bullet trajectory, making proper zeroing essential for distance shooting.
How zeroing improves accuracy and safety
A correctly zeroed riflescope delivers multiple benefits beyond basic accuracy. First, it builds confidence—when shooters trust their optics, they focus on fundamentals rather than second-guessing their setup. This confidence translates into smoother trigger control and better follow-through. Additionally, for hunters, proper zeroing is particularly important for ethical shot placement, reducing the risk of poor placement and supporting responsible shooting practices.
Zeroing also reveals potential equipment issues early. During the process, you may discover loose mounts, improper eye relief, or tracking inconsistencies that could affect performance later. Addressing these problems early protects your investment and ensures long-term reliability.
Choosing the Right Zero Distance
Selecting the appropriate zero distance depends largely on your shooting needs and rifle setup. Let’s examine how to choose the optimal zeroing distance for your specific situation.
Factors that affect zero distance
Your intended use is the primary consideration when selecting a zero distance. Hunters in dense woods need different zeros than those shooting in open terrain. Moreover, atmospheric conditions play a crucial role—elevation changes can shift your zero noticeably, with some hunters reporting consistent 0.5 to 0.75 MOA shifts when traveling from low to high elevations. Similarly, temperature fluctuations impact point of impact, sometimes causing shifts up to 1.5 inches at 100 yards during significant temperature changes. Even the way you rest your rifle can create approximately 0.25 MOA difference between shooting positions.
Common zero distances: 25, 50, 100 yards
Each zero distance offers distinct advantages:
25-yard zero: Often used on indoor ranges to simulate longer zeros. A bullet must impact 0.75 inches low at 25 yards to simulate a 100-yard zero. However, this creates an arching trajectory that rises about 9 inches above line of sight at 200 yards, requiring significant holdunder at mid-ranges.
50-yard zero: Considered by many experts as the most versatile option. Creates a flatter trajectory with maximum height only a few inches above line of sight, allowing precise shots on smaller targets out to 200-250 yards without holdovers. This zero remains popular because it’s effective and logistically easier to achieve at most ranges.
100-yard zero: Increasingly popular among precision shooters. Its main advantage is simplicity—you only ever need to dial or hold “up” regardless of distance. Perfect for those who prefer adjustable turrets or use a ballistic calculator.
How to zero a .22 vs. long-range rifles
For .22LR rifles, a 35-yard zero often provides the optimized trajectory because it places the zero at the peak of the ballistic arc. Alternatively, many shooters prefer a 50-yard zero for .22LR, especially with high-velocity ammunition.
Conversely, precision long-range rifles typically use 100-yard zeros because even small errors at 100 yards magnify considerably at distance—a zero that’s off by two-tenths at 100 yards translates to two inches at 1,000 yards. For hunting rifles used beyond 200 yards, some shooters prefer a 200-yard zero to maintain a flatter trajectory at common hunting distances.
Step-by-Step: How to Zero a Rifle Scope
Achieving perfect scope alignment requires methodical execution and attention to detail. Let me walk you through the exact process I use when zeroing any rifle scope.
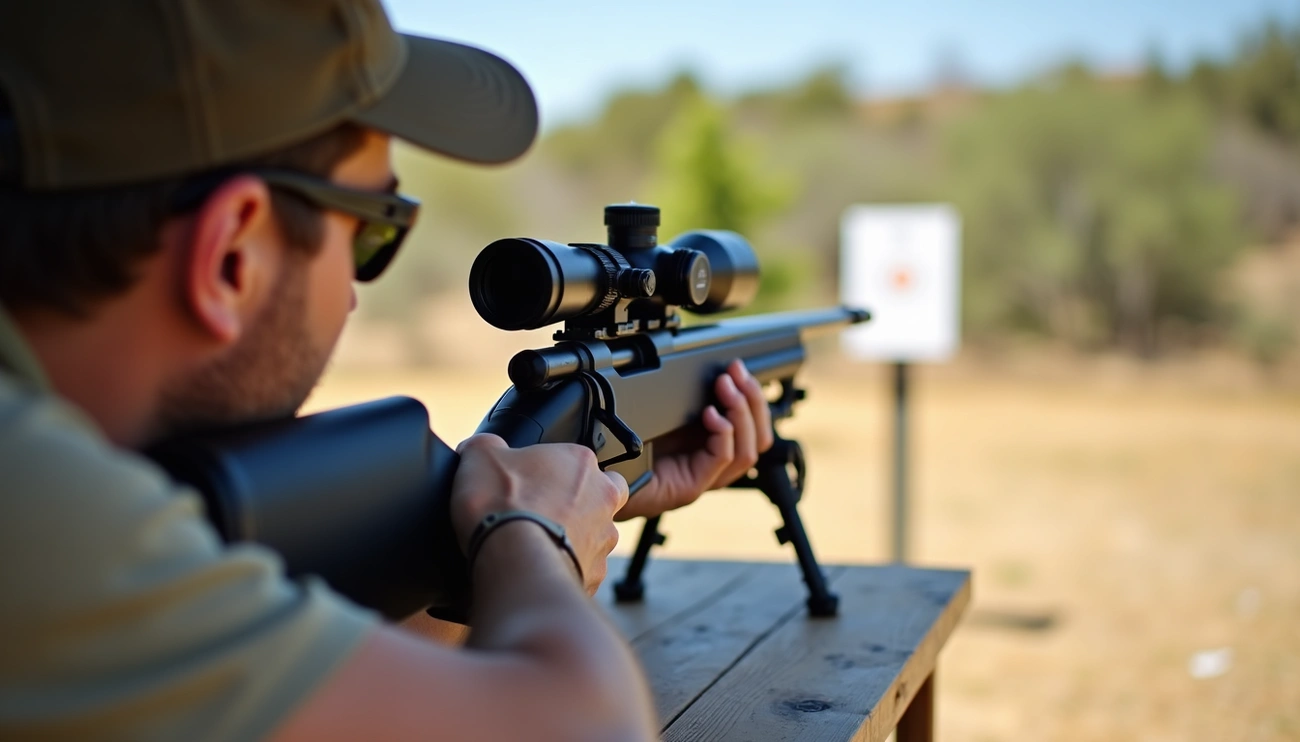
1. Set up a stable shooting position
The foundation of accurate zeroing begins with stability. I prefer shooting from prone position as it’s consistently the steadiest of the four standard firing positions. Alternatively, using a solid shooting bench with sandbags supporting both the forend and buttstock creates excellent stability. Avoid placing pressure under the barrel, as this affects harmonics and can shift your point of impact.
2. Use a bore sight (optional but helpful)
Bore sighting saves time and ammunition by getting you on paper with your first shots. For bolt-action rifles, I remove the bolt, secure the rifle on a rest, look through the barrel to center the target, then—without moving the rifle—adjust my scope’s reticle to the same point. Alternatively, laser bore sighters offer greater precision by projecting a dot onto your target, allowing you to align your reticle with the laser.
3. Fire your first group of shots
With your rifle properly supported, fire a three to five-shot group while aiming at the bullseye. This establishes your baseline point of impact. Allow your barrel to cool between shots to prevent heat-induced shifts in accuracy. I mark where each bullet lands relative to my aim point, paying close attention to group size and consistency.
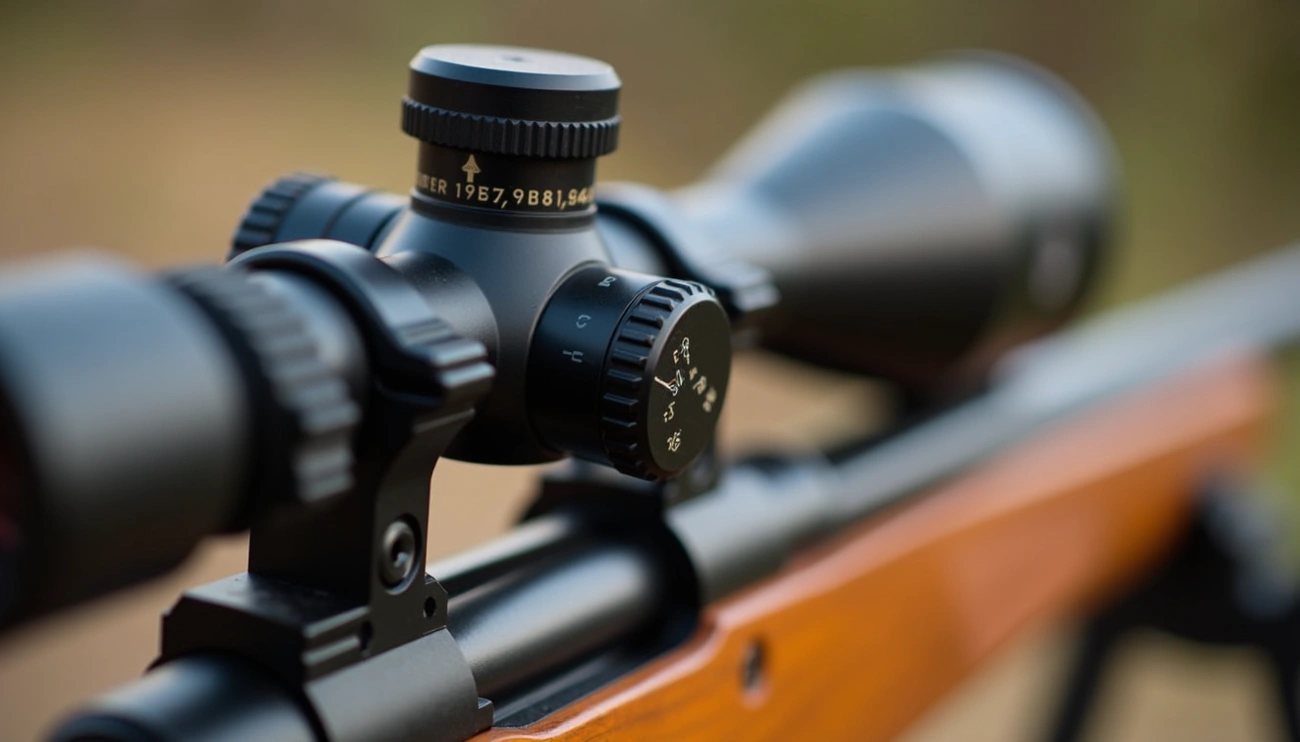
4. Measure and adjust windage and elevation
Once you have a clear group pattern, measure the distance from your point of aim to the center of your group. For elevation adjustments (vertical), use the top turret. For windage adjustments (horizontal), use the side turret. Remember: these adjustments move your point of impact, not your reticle. If your bullets impact two inches right and one inch low at 100 yards with 1/4 MOA adjustments, turn your windage turret 8 clicks left and your elevation turret 4 clicks up.
5. Confirm your zero with a second group
After making adjustments, fire another group to verify your changes. This confirmation step is critical—never adjust based on just one shot, as it could reflect shooter error rather than true scope alignment. If needed, make additional minor adjustments until your group consistently centers on your point of aim.
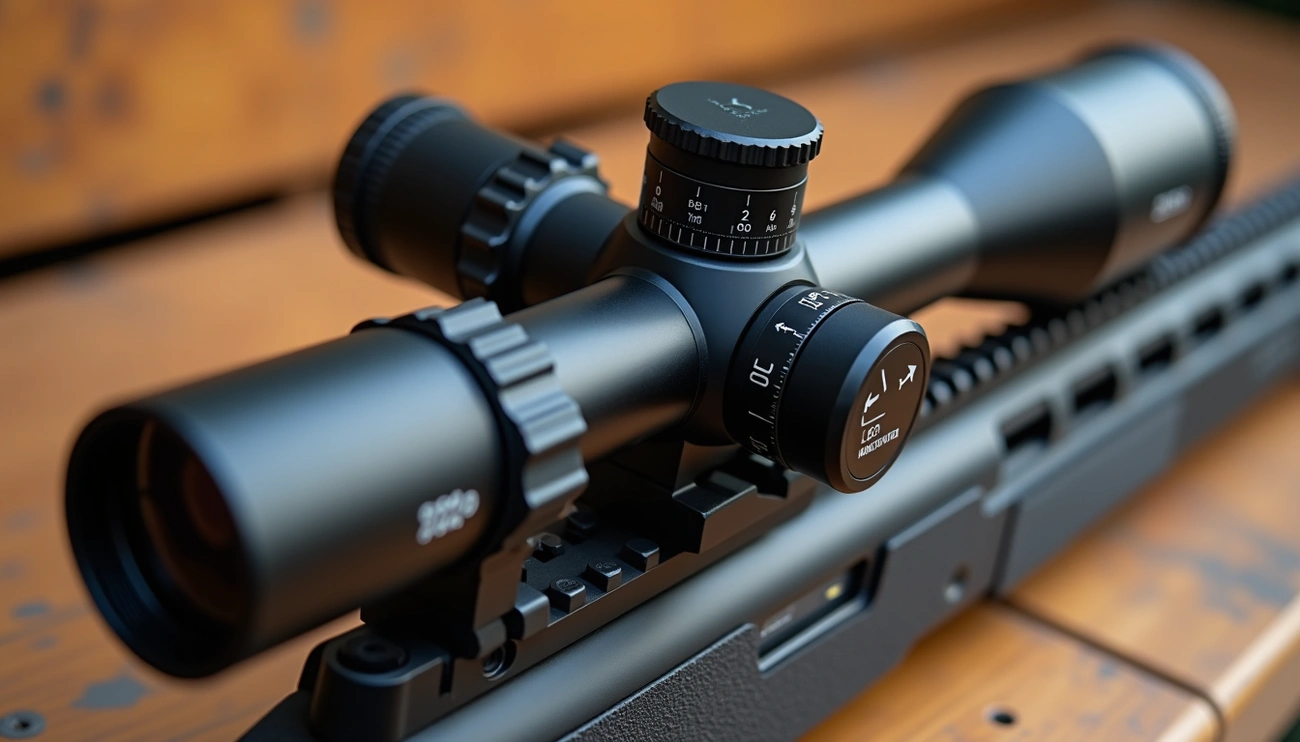
6. Reset turrets if needed
Once satisfied with your zero, many scopes allow you to reset the turrets to read “0” without changing the actual adjustment. This creates a reference point for field adjustments. To do this, hold the turret firmly in place, loosen the top cap screws, lift the turret assembly, align zero with the indicator, then replace and tighten the cap. This zero-stop feature lets you make field adjustments yet return precisely to your established zero whenever needed.
Troubleshooting and Pro Tips
Even expert marksmen encounter zeroing challenges occasionally. Let me share some practical solutions to common problems I’ve faced over years of precision shooting.
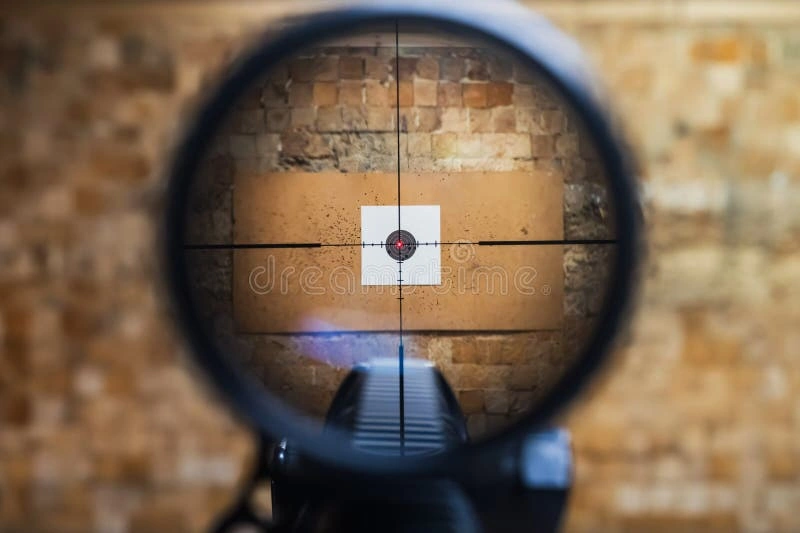
What to do if you’re not hitting paper
Missing the paper entirely can be frustrating. First, I recommend using a larger target or moving closer—starting at 25 yards often helps. If you’re still struggling, try shooting at the four corners of your target; this increases chances of getting at least one hit on paper. Bore sighting remains the most reliable solution—simply look through your barrel at a target, secure the rifle, then adjust your scope’s reticle to align with what you see through the bore. For greater precision, invest in a quality laser bore sighter.
Understanding scope clicks (MOA vs MIL)
Most scopes use either MOA (Minute of Angle) or MIL (Milliradian) adjustment systems. MOA scopes typically adjust in 1/4 clicks, with each click moving your point of impact approximately 0.25 inches at 100 yards. MIL-based scopes usually adjust in 1/10th increments, moving point of impact about 0.36 inches per click at 100 yards. Never mix the two systems—ensure your turrets and reticle use the same measurement system to avoid complex mental calculations in the field.
Letting the barrel cool between shots
Heat dramatically affects accuracy. When zeroing, I always wait at least a minute between shots to prevent heat-induced shifts. For ultimate precision, allow your barrel to cool completely before firing your final confirmation shot. Indeed, even quality barrels perform differently when hot, altering your groups. This becomes especially critical with thin, sporter-weight barrels, which tend to open groups as they heat.
Avoiding common mistakes when adjusting a scope
Undoubtedly, proper mounting forms the foundation of reliable zeroing. Ensure all rings and bases are torqued to manufacturer specifications. Check that your reticle is perfectly level using a bubble level to prevent cant-induced drift at distance. Furthermore, avoid the common error of adjusting turrets after every single shot—instead, shoot 3-5 round groups before making corrections. Finally, ensure your eye relief is correct (approximately 2 inches) to prevent scope bite and maintain consistent sight picture.
Conclusion
Zeroing your rifle scope stands as the foundation of shooting accuracy and success. Throughout this guide, we’ve explored every aspect of this crucial process that transforms an ordinary shooter into a precision marksman. Undoubtedly, the relationship between point of aim and point of impact makes all the difference when you’re trying to hit targets at various distances.
Remember that selecting the right zero distance specifically for your shooting needs pays dividends in the field. Whether you choose 25, 50, or 100 yards depends largely on your intended use, environmental conditions, and rifle setup. After all, a properly zeroed rifle gives you confidence and consistency regardless of your shooting discipline.
Following our step-by-step process will ensure reliable results. Stable shooting positions, careful measurement, proper adjustments, and confirmation groups work together to create the perfect zero. Therefore, take your time during this process – rushing through zeroing inevitably leads to frustration and missed targets downrange.