Mastering how to wear a 2 point rifle sling is essential for any rifle owner, offering superior comfort, retention, and shooting stability. This comprehensive guide walks you through proper attachment, precise adjustment for various scenarios, and effective wearing techniques. Learn to optimize your 2 point rifle sling for quick transitions and enhanced control, ensuring your rifle is always ready and secure.
How to Wear a 2 Point Rifle Sling
Ever felt like your rifle is just… in the way? Or perhaps you’ve struggled to keep it steady when taking a shot, wishing you had an extra hand for support? If so, you’re not alone. The solution for many of these common challenges lies in a simple yet incredibly effective piece of gear: the 2 point rifle sling. It’s more than just a strap; it’s a vital tool that enhances comfort, security, and even shooting performance.
Whether you’re a seasoned hunter, a sport shooter, or someone who prioritizes home defense, understanding how to properly use a 2 point rifle sling can make a world of difference. It transforms your rifle from an unwieldy burden into a seamlessly integrated extension of yourself. In this comprehensive guide, we’re going to break down everything you need to know, from initial attachment to advanced carrying techniques, ensuring you get the most out of your 2 point rifle sling. Let’s get your rifle feeling just right!
Key Takeaways
- Attachment is Key: Securely attach your 2 point rifle sling to appropriate front and rear points on your rifle. The common setup uses one point on the fore-end near the muzzle and another on the stock towards the rear.
- Adjust for Your Body and Gear: The sling’s length needs careful adjustment for comfort and accessibility. Ensure it allows the rifle to hang at a natural, accessible height without dragging or interfering with movement.
- Master Quick Adjustment: Many modern 2 point rifle slings feature quick-adjust tabs. Learn to use this feature efficiently to tighten the sling for secure retention and loosen it for rapid presentation and shooting.
- Explore Multiple Carry Positions: Practice strong-side and support-side shoulder carries, as well as around-the-neck or chest carry. Each position offers different advantages for comfort, weapon retention, and readiness.
- Utilize for Shooting Stability: A 2 point rifle sling isn’t just for carrying; it can significantly enhance shooting stability. Learn to tension the sling against your body to create a more stable shooting platform in various positions.
- Practice Makes Perfect: Regularly practice attaching, adjusting, and wearing your 2 point rifle sling in different scenarios. Familiarity and muscle memory are crucial for safe and efficient operation.
- Safety and Maintenance: Always ensure sling swivels or QD mounts are securely locked. Periodically inspect your sling for wear and tear, especially before critical use, to prevent accidental disconnections.
Quick Answers to Common Questions
What is the main advantage of a 2 point rifle sling over a 1 point sling?
A 2 point rifle sling offers superior stability and weapon retention compared to a 1 point sling. It keeps the rifle more secure against your body, preventing excessive swinging during movement, and provides better control while carrying.
Where should I attach the front of my 2 point rifle sling?
The most common and often preferred front attachment point is on the fore-end of the rifle, closer to the muzzle. This typically provides a balanced carry and allows for natural weapon presentation.
Can a 2 point rifle sling be used to improve shooting accuracy?
Yes, absolutely! By creating tension with the sling against your body, it acts as a brace, significantly increasing stability and reducing wobble in unsupported shooting positions like standing, kneeling, or sitting.
How often should I check my sling attachments?
It’s a good practice to check your sling attachments every time you use your rifle, especially if you’re engaging in active movement. A quick tug on the rifle to ensure the swivels or QD mounts are securely locked can prevent an accidental drop.
Is a quick-adjust feature essential for a 2 point rifle sling?
While not strictly “essential” for basic carry, a quick-adjust feature is highly recommended. It allows for rapid changes in sling length, letting you snug the rifle tightly for movement and quickly loosen it for swift deployment to a shooting position, greatly enhancing versatility and efficiency.
📑 Table of Contents
Understanding Your 2 Point Rifle Sling
Before we dive into the “how-to,” let’s take a moment to understand what a 2 point rifle sling actually is and what makes it so popular. Simply put, a 2 point rifle sling connects to your rifle at two separate points, typically one near the front (fore-end) and one near the rear (stock). This design allows the rifle to hang across your body, distributing its weight and keeping it readily accessible.
What Makes a 2 Point Sling Different?
Unlike a 1 point sling, which attaches only to a single point on the receiver and allows the rifle to dangle freely, a 2 point rifle sling offers greater stability and control. It prevents the rifle from swinging wildly, making it ideal for walking, climbing, or any activity where you need both hands free while keeping the rifle secure and close. The design also lends itself well to various shooting positions, acting as a brace for added stability.
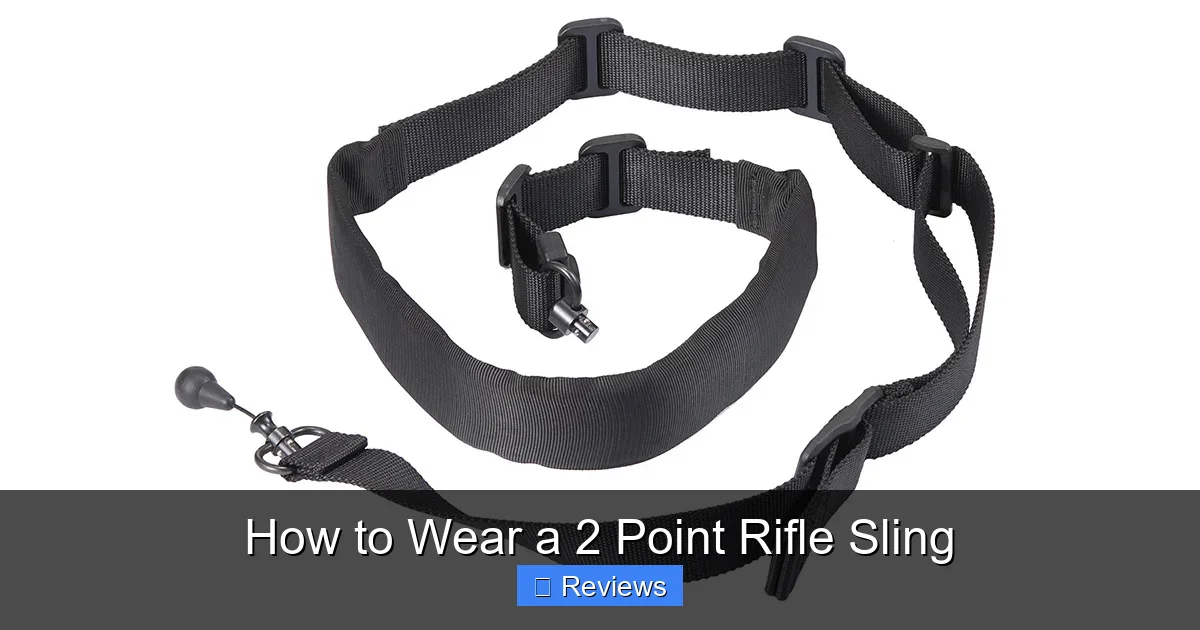
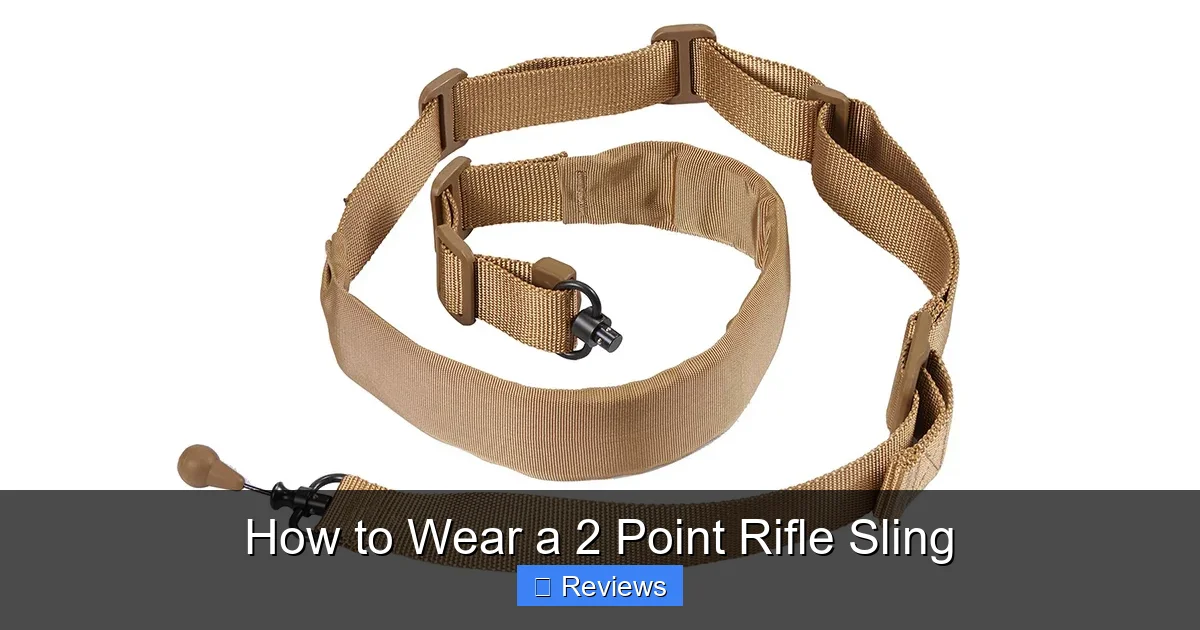
Key Components of a 2 Point Rifle Sling
Most 2 point rifle slings share common components, though designs can vary:
- Webbing: This is the main strap, usually made from durable nylon or similar synthetic material.
- Adjusters: These allow you to change the overall length of the sling. Modern slings often feature a “quick-adjust” pull tab or buckle for rapid length changes.
- Attachment Hardware: These are the connectors that link the sling to your rifle. Common types include:
- Swivels: Traditional metal loops that clip into sling swivel studs on the rifle.
- Quick-Detach (QD) Swivels: Spring-loaded buttons that lock into QD sockets, allowing for fast attachment and detachment.
- Hook Clips: Metal clips that can attach to various loops or rings on the rifle.
- Padded Sections: Some slings include a padded area, usually for the shoulder, to enhance comfort during prolonged carry.
Proper Attachment Points for Your 2 Point Rifle Sling
Getting your 2 point rifle sling attached correctly is the crucial first step. The specific points on your rifle will depend on its design and your preferred setup, but there are some general guidelines that work well for most firearms.
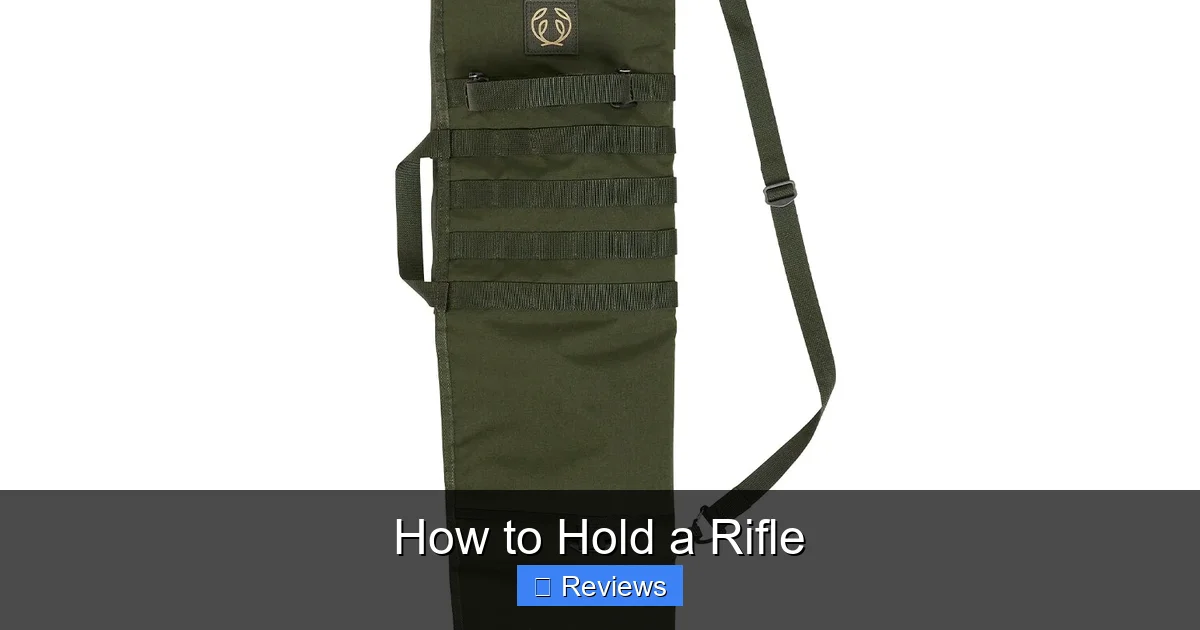
Visual guide about How to Wear a 2 Point Rifle Sling
Image source: airsoftgi.com
Front Attachment: Near the Muzzle or Magazine Well?
The front attachment point significantly impacts how the rifle hangs and transitions.
- Fore-end (Near the Muzzle): This is the most traditional and common front attachment. Placing the front swivel or QD socket near the muzzle end of the handguard (but not so far forward that it interferes with your grip or muzzle devices) provides a balanced carry. When carrying the rifle, the muzzle will point down and slightly forward, keeping it out of the way. This setup allows for easy transitioning to a shooting position, as the rifle rotates naturally into place.
- Mid-Length (Near the Magazine Well): Some users prefer to attach the front point closer to the magazine well or receiver. This setup can sometimes make the rifle feel more compact when slung and may offer quicker transitions for specific shooting styles. However, it can also cause the muzzle to point further upward or forward, potentially making it less convenient for movement through brush or confined spaces. For most general-purpose use with a 2 point rifle sling, the fore-end attachment is recommended.
Rear Attachment: Stock or Receiver?
The rear attachment point influences how the rifle rests against your body and how easily you can bring it to your shoulder.
- Towards the Rear of the Stock: This is the most common rear attachment for a 2 point rifle sling. Attaching it to a swivel stud or QD socket on the bottom or side of the stock, near the buttpad, works well. This placement helps the rifle lie flat against your body, distributing weight evenly. It also aids in quick shouldering from a low ready or slung position.
- Receiver End Plate: On AR-style rifles, some prefer attaching the rear of the sling to a QD end plate located just behind the receiver. This allows the rifle to hang a bit more centrally and can be very effective for quick transitions between strong and support side shooting, as the sling itself doesn’t interfere as much with the stock. If your rifle has this option, it’s worth experimenting with.
Which Hardware to Use?
Your rifle likely has specific attachment points:
- Sling Swivel Studs: These are common on hunting rifles and shotguns. You’ll need a sling with traditional swivels that clip into these studs. Make sure they are heavy-duty and securely fastened.
- QD Sockets: Many modern sporting rifles and tactical platforms feature Quick-Detach (QD) sockets, allowing you to use QD swivels. These are fantastic for quickly attaching or removing the sling, or even swapping it between different rifles. Always ensure the QD swivel is fully seated and locked by pulling on it firmly after insertion.
- Loops or Rail Attachments: Some handguards and stocks have integrated loops or picatinny/M-LOK/KeyMod slots for dedicated sling attachments. Choose a sling hardware type that matches your rifle’s capabilities.
Practical Tip: Before you do anything else, ensure all your sling attachment hardware is robust and securely fastened to your rifle. A sling failure in the field can be annoying at best, and dangerous at worst.
Adjusting Your 2 Point Rifle Sling for Comfort and Function
Once attached, the most critical step is adjusting the length of your 2 point rifle sling. This isn’t a “set it and forget it” task; optimal adjustment depends on your body, your gear, and how you intend to use the rifle.
Initial Length Adjustment: The “Hang Test”
Start by putting the rifle on your dominant shoulder (the one you shoot from) or around your neck (if using a chest carry method). The goal is to find a length where the rifle hangs comfortably, doesn’t drag on the ground, and can be quickly brought to your shoulder.
- Stand Tall: With the rifle slung over your shoulder, let your dominant arm hang naturally.
- Hand Position: Your dominant hand should be able to comfortably grasp the pistol grip (if applicable) or the small of the stock. Your support hand should be able to reach the fore-end.
- Muzzle Clearance: The muzzle of the rifle should clear your knees by a few inches, preventing it from dragging when walking or sitting.
- Clearance from Obstacles: Ensure the rifle doesn’t interfere with your sidearm, magazine pouches, or other gear on your belt or vest.
Adjust the main strap until you achieve this general position. This is your baseline length for comfortable carry with a 2 point rifle sling.
Mastering the Quick Adjustment Feature
Many modern 2 point rifle slings have a quick-adjust tab or buckle. This is a game-changer! It allows you to rapidly shorten the sling for secure retention and quickly lengthen it for shooting or transitioning.
- Tightening (for Retention/Movement): Pull the quick-adjust tab or strap to shorten the sling. This snugs the rifle tightly against your body, preventing it from flopping around when you’re moving fast, climbing, or crawling. It keeps the rifle secure and out of the way.
- Loosening (for Presentation/Shooting): Push or pull the quick-adjust tab in the opposite direction to instantly lengthen the sling. This gives you the slack needed to bring the rifle up to your shoulder quickly, transition to your support side, or move the rifle into various shooting positions.
Practical Tip: Practice adjusting your 2 point rifle sling without looking. You want this action to be second nature, allowing you to adapt to situations quickly and efficiently.
Finding Your Sweet Spot for Different Gear
Your sling adjustment won’t be static. If you wear a thick jacket, body armor, or a backpack, you’ll need to loosen the sling to accommodate the extra bulk. Always re-adjust your 2 point rifle sling to ensure comfort and functionality with your current loadout.
Wearing Techniques and Positions with a 2 Point Rifle Sling
Now that your 2 point rifle sling is attached and adjusted, let’s explore the various ways you can carry and utilize it. Each method has its advantages depending on your activity and environment.
1. Strong Side Shoulder Carry (Traditional Carry)
This is arguably the most common and intuitive way to carry a rifle with a 2 point rifle sling.
- How to Do It: Sling the rifle over your dominant shoulder, allowing it to hang across your back with the muzzle generally pointing down. The sling should cross your chest from your dominant shoulder to your support-side hip/waist.
- Advantages: Offers good weapon retention for walking or light movement. Keeps the rifle generally out of the way for basic tasks.
- Disadvantages: Can sometimes be slower to bring to a shooting position compared to other methods, especially if the sling is too loose. The rifle might swing outwards during vigorous movement.
- Quick Adjust Use: Use the quick adjust to tighten the sling against your back for secure retention during movement, then loosen to bring it up to shoot.
2. Support Side Shoulder Carry
Similar to the strong-side carry, but over your non-dominant shoulder.
- How to Do It: Sling the rifle over your support shoulder, with the muzzle typically pointing down and slightly to your dominant side. The sling crosses your back from your support shoulder to your dominant-side hip.
- Advantages: Can be useful for specific tasks where your dominant side needs to be completely clear. Can also be a staging position for certain transitions.
- Disadvantages: May feel less natural for rapid deployment if you’re primarily right-handed (or left-handed for a left-side carry).
3. Around the Neck / Chest Carry (Patrol Carry / Ready Position)
This method keeps the rifle centrally located and very accessible, making it popular for tactical applications, patrolling, or when you need the rifle ready to deploy quickly.
- How to Do It: Drape the sling around your neck, allowing the rifle to hang in front of your chest. The sling will cross over both shoulders, with the rifle resting across your torso. The muzzle will typically point downwards.
- Advantages: Extremely fast to bring to a shooting position. Excellent weapon retention as it’s snug against your body. Allows both hands to be free for other tasks.
- Disadvantages: The rifle’s weight is distributed across your neck and shoulders, which can be tiring over long periods without a padded sling. It might interfere with certain chest rigs or pouches.
- Quick Adjust Use: This is where the quick adjust shines. Keep the sling tight for maximum retention, then quickly loosen to extend the rifle and shoulder it.
4. Utilizing Your 2 Point Rifle Sling for Shooting Stability
Beyond carrying, a 2 point rifle sling is a powerful tool for improving accuracy, especially in unsupported positions.
- Sling as a Brace: With the rifle slung around your neck or shoulder, bring it up to your shooting position. Instead of just letting it hang, create tension by pushing the rifle forward slightly against the sling, or by wrapping your support arm through the sling. The sling acts as a loop, effectively shortening your arm and pulling the rifle tightly into your shoulder.
- Sitting/Kneeling Positions: This technique is particularly effective in sitting, kneeling, and even some standing positions. By tightening the 2 point rifle sling and using it to brace the rifle against your arm or torso, you reduce wobble and fatigue.
Practical Tip: Experiment with different levels of tension. Too tight, and it can restrict movement; too loose, and you won’t get the stability benefits. Find what works for you and your rifle.
Safety, Maintenance, and Advanced Tips for Your 2 Point Rifle Sling
Mastering your 2 point rifle sling also involves understanding safety, proper care, and pushing your skills further.
Safety First, Always
- Muzzle Awareness: Regardless of how you’re carrying your rifle, always be mindful of where the muzzle is pointing. The 2 point rifle sling helps keep the rifle under control, but it doesn’t replace safe handling practices.
- Clear Trigger Guard: Ensure the sling doesn’t interfere with the trigger guard in a way that could accidentally snag the trigger. This is particularly important with older sling designs or unusual attachment points.
- Secure Attachments: Double-check your sling swivels or QD mounts frequently. A loose connection can cause the rifle to drop unexpectedly. Tug firmly on the rifle after attachment to verify it’s secure.
Sling Maintenance
Your 2 point rifle sling is subjected to wear and tear from friction, UV exposure, and dirt. Regular maintenance prolongs its life and ensures reliability.
- Inspect Regularly: Before and after use, check the webbing for fraying, cuts, or thinning areas. Examine buckles, adjusters, and attachment hardware for cracks, bends, or excessive wear.
- Clean as Needed: If your sling gets muddy or dirty, a simple rinse with water and a mild detergent (like dish soap) can work wonders. Allow it to air dry completely before storing to prevent mildew.
- Lubricate Hardware: For metal swivels or QD buttons, a tiny drop of light gun oil can keep them operating smoothly and prevent corrosion.
Practice Makes Perfect
You wouldn’t expect to be a great shot without practice, and the same applies to using your 2 point rifle sling. Integrate sling manipulation into your dry fire drills and range sessions.
- Transitions: Practice transitioning your rifle from a slung position to a firing position, both to your dominant and support shoulders.
- Quick Adjust Drills: Practice tightening and loosening the quick adjust while moving and while static.
- Movement Drills: Walk, run, climb, and crouch with your rifle slung. See how it feels, and identify any points of discomfort or interference.
Troubleshooting Common Issues
- Rifle Flopping Too Much: Your sling is likely too long for the carry method. Use the quick adjust to tighten it against your body.
- Difficulty Shouldering: The sling might be too tight, or the attachment points might not be ideal for your body mechanics. Loosen it slightly, or consider experimenting with different attachment locations.
- Sling Twists: Ensure your sling is installed without twists from the start. Some swivel types are more prone to twisting; adjust the sling’s routing if necessary.
Conclusion
The 2 point rifle sling is far more than just a piece of webbing; it’s a critical accessory that enhances your rifle’s utility, comfort, and even your shooting performance. By understanding its components, attaching it correctly, and mastering its adjustment features, you transform your interaction with your rifle.
From freeing up your hands for other tasks to providing a stable shooting platform, the benefits of a properly worn 2 point rifle sling are undeniable. Remember that practice is paramount. The more you work with your sling, experiment with different carry methods, and utilize its quick-adjust features, the more intuitive its use will become. So, take the time, follow these steps, and unlock the full potential of your rifle with a well-worn 2 point rifle sling. Your comfort and confidence will thank you.
🎥 Related Video: How to use your 2 Point Sling on your AR15
📺 UN12 Magazine
Dave shows you some tips and hacks to run your 2 point sling like a pro. It is no secret that Dave’s preference is the 2 point but …
Frequently Asked Questions
What materials are 2 point rifle slings typically made from?
Most 2 point rifle slings are made from durable synthetic materials like nylon webbing, often reinforced with high-strength stitching. Some may feature padded sections made from neoprene or closed-cell foam for added comfort during prolonged carry. The attachment hardware is usually made from steel or other robust metals.
Can I switch my 2 point rifle sling between different rifles?
Yes, if your rifles have compatible attachment points, you can certainly switch your 2 point rifle sling. Quick-Detach (QD) swivels are particularly convenient for this, as they allow for fast and easy removal and re-attachment without tools, making them a popular choice for users with multiple firearms.
How tight should my 2 point rifle sling be when carrying?
When carrying your rifle, the sling should be tight enough to keep the rifle securely against your body, preventing it from swinging freely or getting snagged on obstacles. However, it should not be so tight that it restricts your breathing or causes discomfort. A good rule of thumb is to be able to quickly reach and grasp the rifle’s grip and fore-end comfortably.
Are there any specific safety considerations when using a 2 point rifle sling?
Always ensure the sling does not interfere with the trigger guard or any controls on your rifle, which could lead to an unintentional discharge. Regularly inspect the sling for wear and tear, especially the attachment hardware, as a failure could result in the rifle dropping. Also, always maintain proper muzzle awareness, even when the rifle is slung.
Can I use a 2 point rifle sling for both strong-side and support-side shooting?
Yes, a well-adjusted 2 point rifle sling allows for transitions to both strong-side and support-side shooting positions. With a quick-adjust feature, you can rapidly loosen the sling to allow the rifle to move freely, making it easier to shoulder it on your non-dominant side if the situation demands it, such as shooting around cover.
Is a padded 2 point rifle sling worth the extra cost?
For most users, especially those who plan to carry their rifle for extended periods, a padded 2 point rifle sling is definitely worth the extra cost. The padding significantly improves comfort by distributing the rifle’s weight more evenly across your shoulder and preventing the webbing from digging in, reducing fatigue during long patrols or hunts.