Sight in a rifle scope by bore sighting for initial alignment, then fire three-shot groups from a stable rest at 25 yards. Adjust elevation and windage turrets in MOA clicks to align point of impact with point of aim. Confirm zero by repeating groups at 100 yards.
What You Need to Sight in a Rifle Scope
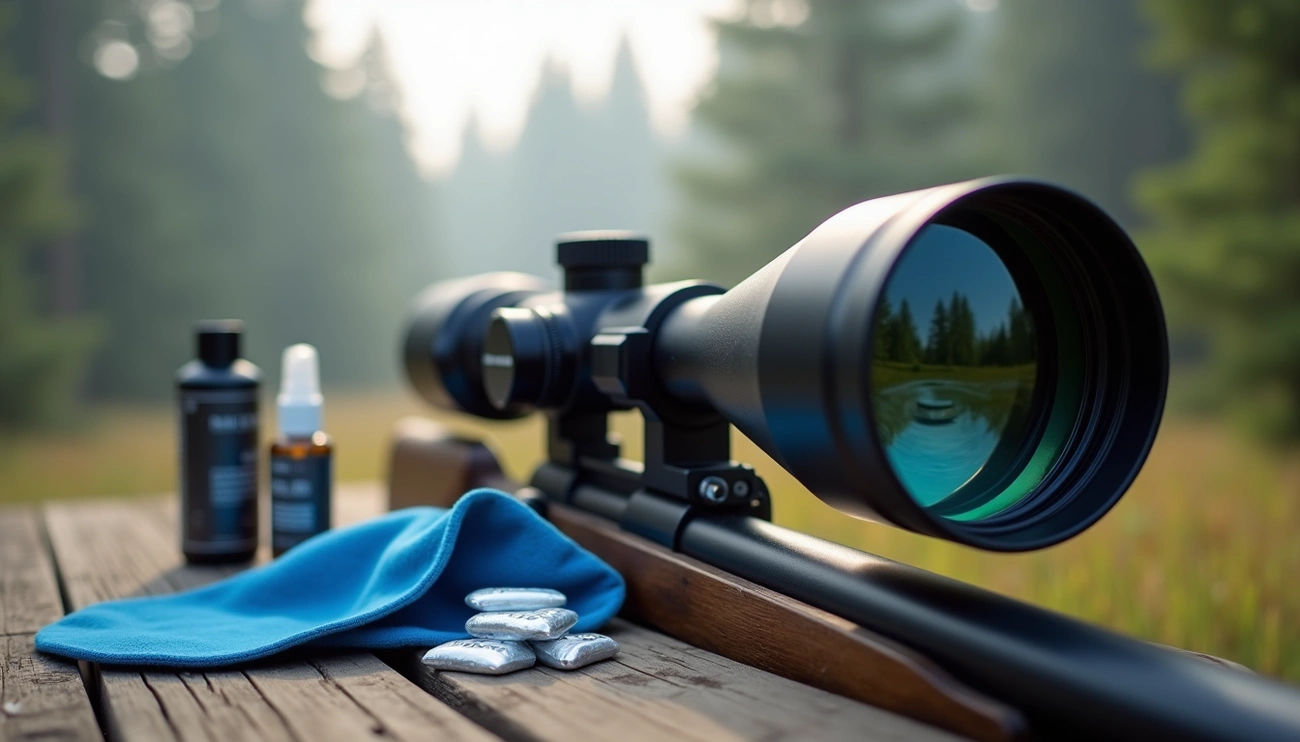
Before you head to the range, gathering the right gear will save time and ammunition. Preparation makes the difference between a frustrating session and a successful zero.
Required Equipment and Ammunition
Your rifle needs a stable platform to rest on during the zeroing process. Sandbags work well because they allow the rifle to recoil naturally without overstressing components. Shooting benches paired with a rifle rest minimize movement and human error. Bipods offer another solid option, particularly if you plan to shoot from prone positions in the field.
Ammunition selection matters more than most shooters realize. Use the specific ammunition type and weight you plan to shoot regularly, as different loads impact differently. Specifically, try to get ammunition from the same lot number, which you’ll find printed on the side of each box. This consistency eliminates variables during sighting in a rifle.
In addition to your rifle and ammunition, bring screwdrivers or a torque wrench for scope adjustments. A torque-calibrated screwdriver like the Wheeler FAT wrench helps tighten scope ring screws to manufacturer specifications. You’ll also need marking tools like pens or stickers to track shot placements on targets.
Choosing the Right Target and Backstop
Gridded targets speed up the zeroing process considerably. Thompson scope targets feature a 1″ grid that allows quick, accurate scope adjustments. The grid design helps you measure exactly how far your shots landed from center, making turret calculations straightforward.
Your shooting location must have a solid backdrop to ensure bullets will not leave the area. This safety requirement is non-negotiable, whether you’re at a formal range or on rural property.
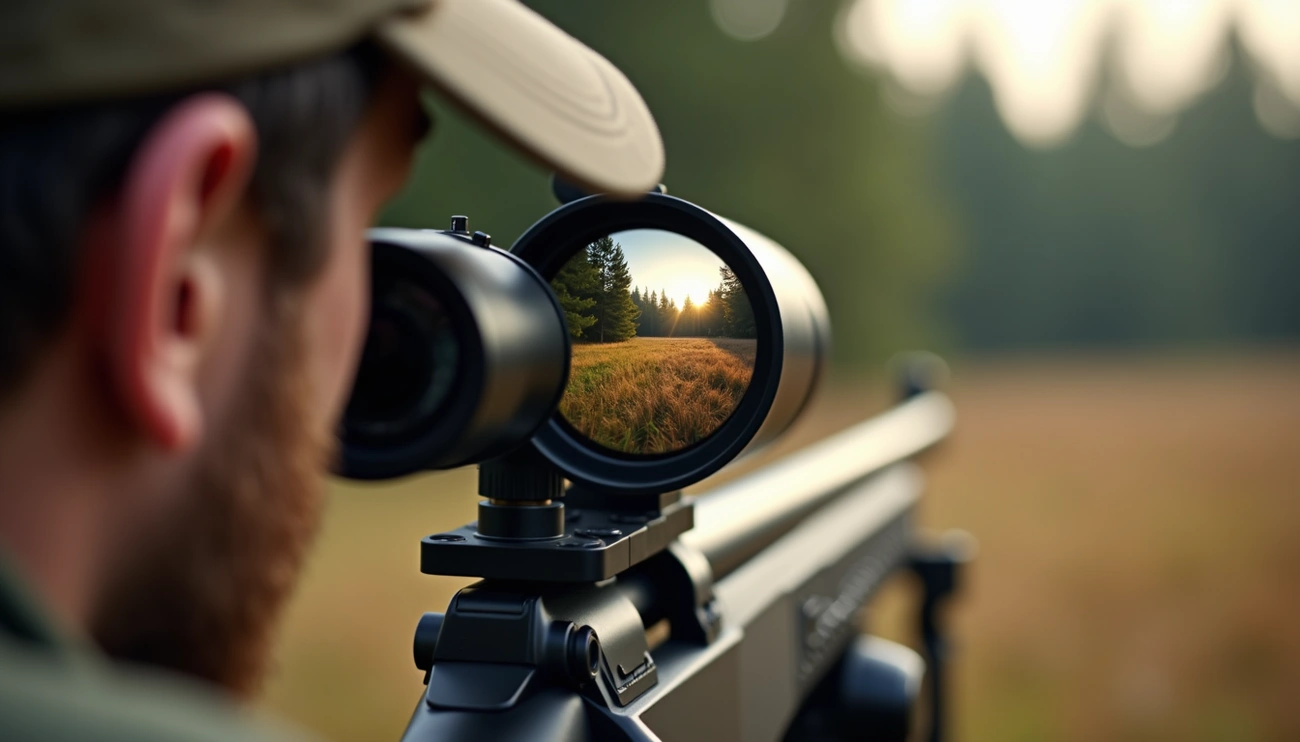
Setting Up Your Shooting Position
The prone position provides the most stable base for zeroing because it reduces movement. If prone isn’t possible, a shooting bench works too. Whatever position you choose should feel comfortable and allow steady rifle support.
Body alignment matters. Line up directly behind the rifle to keep shots consistent. Your position should remain identical for each shot throughout the process.
Safety Checks Before You Begin
Ensure your rifle is unloaded and pointed in a safe direction at all times. Always treat your firearm as if it is loaded and follow all safety protocols. Wear eye and ear protection before firing any rounds.
Understanding Your Scope’s Basic Parts
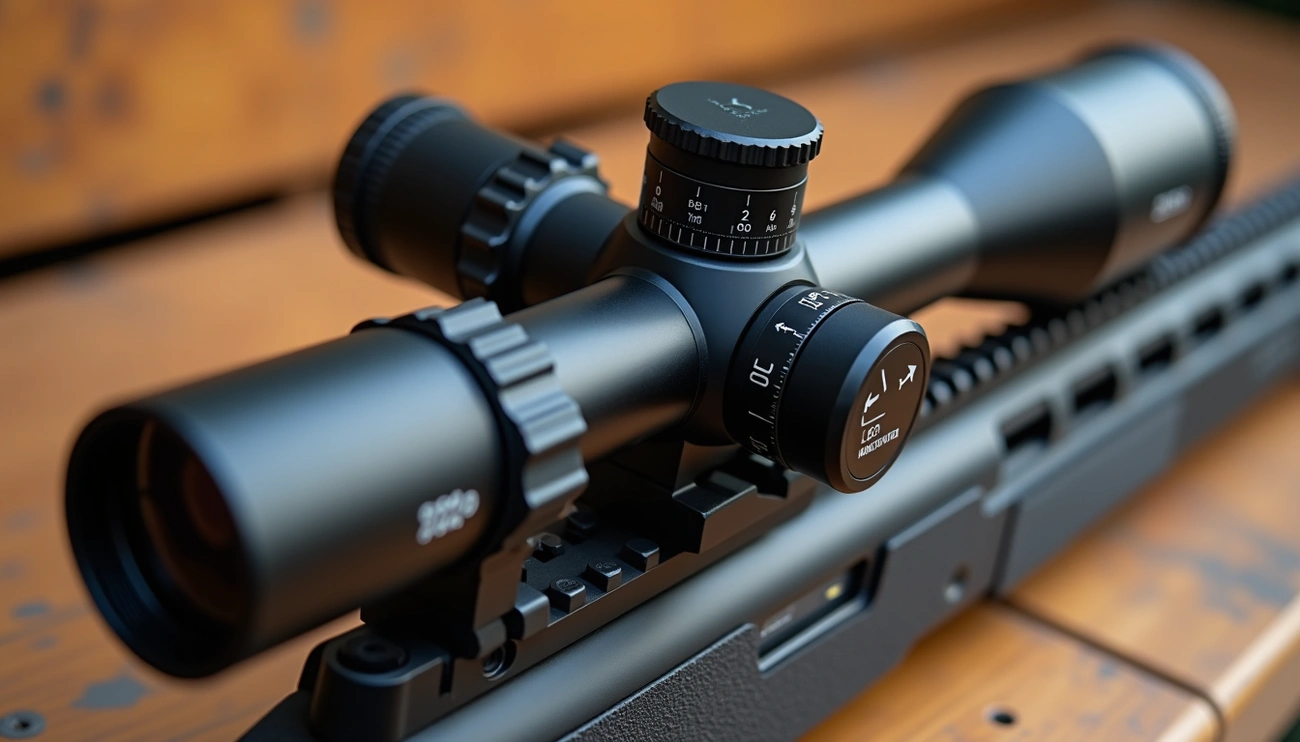
Your scope has two primary adjustment knobs that control where your shots land on target.
Turrets for Windage and Elevation
The elevation turret sits on top of your scope and controls vertical adjustments. When you turn this turret, the reticle inside moves up or down. The windage turret is located on the right side of the scope and handles horizontal corrections. These turrets don’t change where the bullet actually goes; they adjust where the reticle points, which changes your aim.
Both turrets work through a mechanical system inside the scope. When you rotate a turret, it moves an internal erector unit that shifts the reticle’s position. Each rotation produces an audible and tactile click, allowing you to make adjustments without looking away from your target.
How MOA Adjustments Work
MOA stands for Minute of Angle, representing 1/60th of a degree. At 100 yards, 1 MOA equals approximately 1.047 inches, though most shooters round down to 1 inch for simplicity.
The measurement scales with distance. At 200 yards, 1 MOA equals 2 inches. At 500 yards, it equals 5 inches. This scaling is what makes MOA useful for long-range shooting. If your shots hit 5 inches low at 500 yards, you need only 1 MOA of elevation adjustment, not 5 MOA.
Reading Your Scope’s Click Values
Most scopes adjust in 1/4 MOA increments per click. This means each click moves your point of impact by 1/4 inch at 100 yards. If you need to adjust 1 full MOA, you’ll turn the turret 4 clicks.
Some scopes use different click values. Precision scopes often feature 1/8 MOA clicks for finer adjustments. Others use 1/2 MOA or even 1 full MOA per click. Check your scope’s specifications to know your click value before sighting in a rifle.
Step-by-Step: How to Zero a Scope at 25 Yards
Starting at 25 yards allows you to get on paper quickly before moving to your final zero distance.
Step 1: Fire Your First Three-Shot Group
Secure your rifle in the rest with the crosshair centered on your target. Fire three rounds while maintaining consistent breathing and trigger control. This initial group reveals where your rifle naturally shoots compared to your point of aim.
Step 2: Measure the Distance from Center
Examine where your shots landed relative to the bullseye. Measure both the vertical distance (up or down) and horizontal distance (left or right) from center. If your shots are hitting 1 inch low and 0.5 inches right, you’ll need those measurements for the next calculation.
Step 3: Calculate Your Turret Adjustments
At 25 yards with 1/4 MOA clicks, you need 16 clicks to move your point of impact 1 inch. This happens because 1 inch at 25 yards translates to 4 inches at 100 yards (100/25 = 4), and moving 4 inches at 100 yards requires 16 clicks. Multiply your measured distance by 16 to determine how many clicks you need in each direction.
Step 4: Make the Corrections
Turn your elevation turret up if shots landed low, down if they landed high. Adjust windage right if shots went left, left if they went right. Count your clicks carefully as you make these adjustments.
Step 5: Confirm Your Zero with Another Group
Re-aim at the target center and fire another three-shot group. Your shots should now land much closer to your point of aim. Make minor adjustments if needed.
Step 6: Move to 100 Yards for Final Zero
Once centered at 25 yards, move your target to 100 yards. Your shots will likely hit between 0.5 to 1.5 inches low due to bullet trajectory. Adjust your elevation turret until shots strike dead center at 100 yards for your final zero.
Troubleshooting Common Sighting Problems
Sometimes the zeroing process doesn’t go smoothly, but most issues have straightforward fixes.
What to Do When Shots Won’t Group
Inconsistent shot placement often stems from inconsistent shooting position or trigger control. Check that your body, hands, and breathing remain steady with each shot. Particularly watch your trigger press. Jerking the trigger or anticipating recoil causes shots to scatter. Focus on smooth, controlled breaks between shots.
Adjusting When You’re Not on Paper
If your first shots miss the target entirely, consider using a boresighting tool as a preliminary step. Boresighting aligns the bore with the scope, helping you get on paper faster. Alternatively, start at a closer distance like 25 yards with a larger target. You can also remove the bolt, look through the bore at your target, then adjust the reticle to match without moving the rifle.
When to Check Your Scope Mounting
Loose scope mounts or rings significantly affect accuracy. Grab your scope and give it a brisk twist. If it moves at all, you’ve found your problem. Additionally, check all fasteners on both the rifle action screws and scope mount. Use a torque wrench to tighten screws to manufacturer specifications. Apply a small amount of blue Loctite on base and ring screws to prevent loosening.
Conclusion
You now have everything you need to zero your rifle scope accurately and efficiently. The process isn’t complicated once you understand MOA adjustments and follow the methodical approach from 25 yards to 100 yards.
As a matter of fact, consistency matters most. Use the same ammunition, maintain steady shooting positions, and make calculated turret adjustments. Your first zeroing session might take time, but each subsequent one gets faster as you build confidence. Keep practicing, and accurate shooting will become second nature.