Mounting a rifle scope correctly is crucial for accuracy and reliability, transforming your shooting experience. This comprehensive guide walks you through every essential step, from selecting the right components and preparing your workspace to installing the base, rings, and scope, ensuring proper eye relief and reticle leveling. Following these detailed instructions will equip you with the knowledge and confidence to achieve a solid, consistent setup for your rifle.
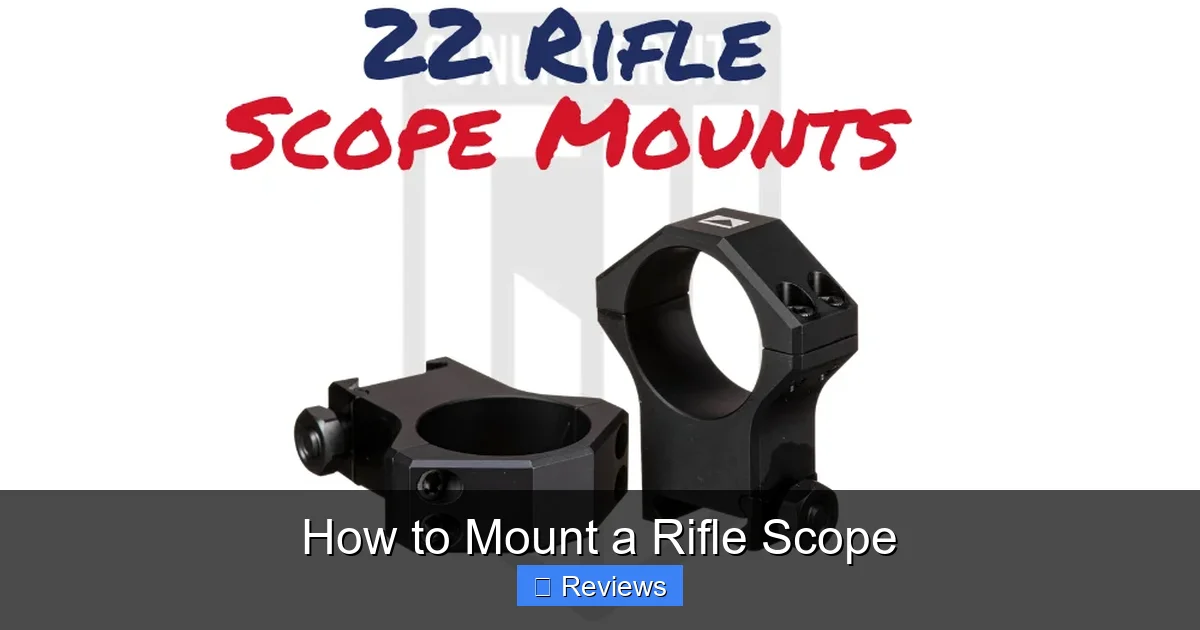
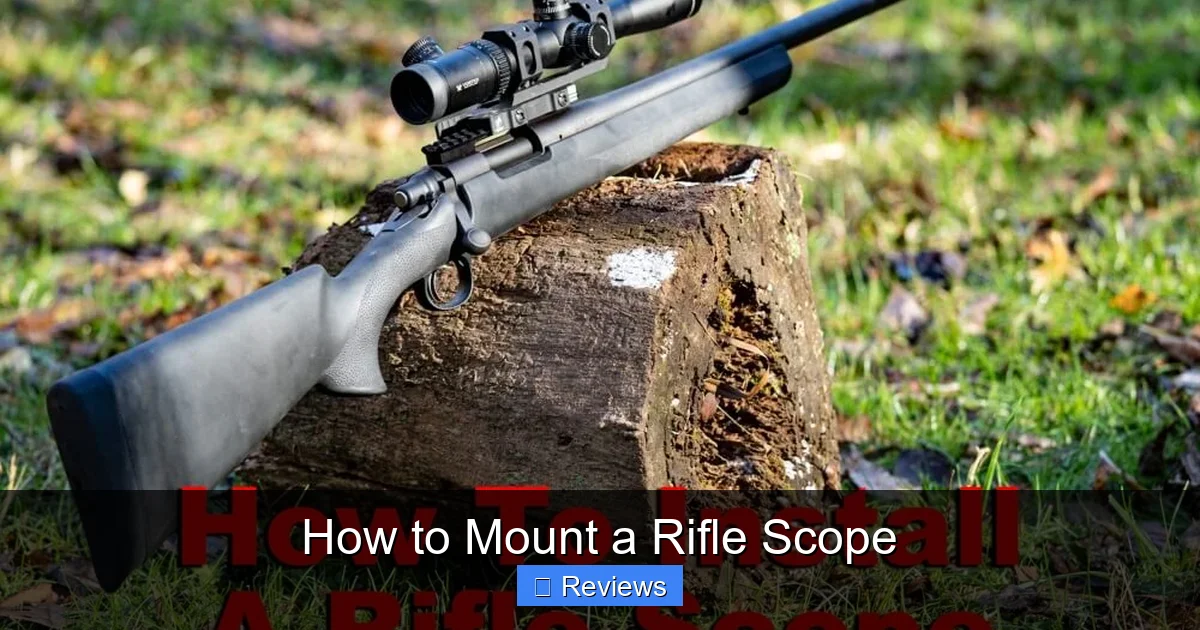
How to Mount a Rifle Scope
Hey there, fellow shooting enthusiast! So, you’ve just invested in a shiny new scope for your favorite rifle, or maybe you’re upgrading an old one. That’s awesome! But here’s the thing: having a top-notch scope is only half the battle. If you don’t mount a rifle scope correctly, even the most expensive optic in the world won’t help you hit your target consistently. In fact, a poorly mounted scope can cause endless frustration, missed shots, and lead you down a rabbit hole of trying to diagnose non-existent rifle issues.
Mounting a rifle scope might seem a bit intimidating at first, especially with all the talk about torque specs, eye relief, and leveling. But I promise you, with a bit of patience, the right tools, and a clear, step-by-step guide, you can absolutely do this yourself. Not only will you save some money you might otherwise spend at a gunsmith, but you’ll also gain a deeper understanding of your rifle and a huge sense of satisfaction from doing the job right. Think of it as a crucial bonding experience with your firearm!
In this comprehensive guide, we’re going to walk through the entire process of how to mount a rifle scope, from gathering your gear to the final tightening. We’ll cover everything you need to know to ensure your scope is rock-solid, perfectly aligned, and ready to help you shoot with precision. So, grab a cup of coffee, clear your workspace, and let’s get your scope mounted right!
Key Takeaways
- Preparation is Key: Gather all necessary tools, including a torque wrench, cleaning supplies, and threadlocker, before you begin the scope mounting process.
- Understand Your Components: Familiarize yourself with different types of bases (Picatinny, Weaver), rings, and the specific features of your rifle and scope for optimal compatibility.
- Proper Base Installation: Always clean mounting surfaces, use a threadlocker on base screws, and torque them to the manufacturer’s specified settings to prevent loosening.
- Eye Relief and Reticle Leveling: These are critical steps for comfortable, accurate shooting. Adjust the scope for proper eye relief while shouldering the rifle, and use a leveling tool to ensure your reticle is perfectly straight.
- Torque Everything Correctly: Under-torquing can lead to a loose scope, while over-torquing can damage components. Always refer to manufacturer’s specifications for bases, rings, and scope ring caps.
- Post-Installation Checks: After mounting, perform a “wiggle test” and consider boresighting to get on paper quickly, followed by live-fire zeroing.
- Patience and Precision: Rushing the scope mounting process can lead to frustration and inaccuracy. Take your time, double-check each step, and enjoy the satisfaction of a perfectly mounted scope.
Quick Answers to Common Questions
What is eye relief when mounting a rifle scope?
Eye relief is the optimal distance between your eye and the scope’s ocular lens to achieve a full, clear, and unobstructed view of the reticle and target. It’s crucial for comfort, quick target acquisition, and avoiding “scope bite” from recoil.
Do I need a torque wrench to mount a rifle scope?
Yes, absolutely. A quality inch-pound torque wrench is essential to ensure screws are tightened to manufacturer specifications, preventing both under-torquing (which causes looseness) and over-torquing (which can damage components). This is a non-negotiable tool for proper scope mounting.
What is threadlocker, and why should I use it?
Threadlocker (like Loctite 242 Blue) is a chemical compound applied to screw threads that cures to prevent loosening from vibration and recoil. It’s critical for base screws and often recommended for ring screws to maintain a secure and stable scope mount over time.
How important is it to level the reticle when I mount a rifle scope?
Leveling the reticle is extremely important for accuracy, especially at longer distances. If the reticle isn’t level, adjusting for elevation will also cause a horizontal shift in your point of impact, leading to missed shots and frustration.
Can I mount a rifle scope without professional help?
Yes, with the right tools, patience, and a detailed guide like this one, most individuals can successfully mount a rifle scope at home. Doing it yourself provides a deeper understanding of your equipment and a great sense of accomplishment.
📑 Table of Contents
1. Understanding Your Components: The Foundation of Success
Before we even think about turning a screw, it’s vital to understand the different parts involved in the scope mounting process. It’s like building a house – you need to know your materials first. Your rifle, the scope itself, the base, and the rings all play critical roles.
Rifle Receiver Types and Compatibility
Not all rifle receivers are created equal when it comes to mounting optics.
- Dovetail: Some older rifles, rimfire rifles, and air rifles use an integrated dovetail rail machined directly into the receiver. Rings designed for dovetails clamp directly onto this.
- Drilled and Tapped: Most modern centerfire rifles have holes drilled and tapped into the receiver. These are designed to accept scope bases.
- Integrated Rails: Some tactical rifles or high-end sporting rifles come with a Picatinny or Weaver rail machined directly into the receiver, simplifying the mounting process.
Knowing what kind of receiver you have will dictate the type of scope base you need.
Scope Features: Eye Relief and Parallax
Your scope itself has features that impact mounting.
- Eye Relief: This is the distance between your eye and the scope’s ocular lens (the one you look through) where you get a full, clear sight picture. Proper eye relief is critical for comfort, safety (avoiding “scope bite”), and consistent shooting.
- Parallax: While not directly affecting mounting, understanding parallax helps in zeroing. It’s the apparent shift in the reticle’s position relative to the target when your eye moves slightly. Many scopes have parallax adjustment, usually a knob on the side or objective bell.
Scope Base Types: The Link to Your Rifle
The base is the component that attaches directly to your rifle’s receiver.
- Weaver-Style Bases: These are common and use horizontal slots with a square cross-slot. Weaver rings have a single clamp.
- Picatinny Rails (MIL-STD-1913): An evolution of the Weaver, Picatinny rails have wider, more consistently spaced cross-slots. This allows for greater flexibility in ring placement and ensures better compatibility across various rings and accessories. Most modern tactical and precision setups use Picatinny.
- Dovetail Bases: If your rifle has a dovetail receiver, you’ll use rings that clamp directly onto it.
- Proprietary Bases: Some manufacturers, like Leupold (e.g., their QR or PRW series), offer their own unique base designs that often come with matching rings.
Always ensure your base matches your rifle’s receiver hole pattern and your chosen rings.
Scope Ring Types and Heights: Holding it All Together
Rings are the bridge between your scope and the base. They come in various styles and heights.
- Ring Diameter: This must match your scope’s main tube diameter (e.g., 1 inch, 30mm, 34mm, 35mm).
- Ring Height: This is crucial. You want the scope to be as low as possible without the objective lens touching the barrel or the bolt handle interfering with the ocular bell. Low, medium, high, and extra-high are common categories. The ideal height provides proper cheek weld and eye alignment when shouldering the rifle comfortably.
- Fixed vs. Quick-Detach (QD): Fixed rings offer maximum stability. QD rings allow for quick removal and reattachment of the scope without significant loss of zero, often preferred for rifles that might use iron sights or multiple optics.
When selecting rings, also consider the material (steel, aluminum), the number of screws per ring cap (typically 2, 4, or 6), and the overall quality. High-quality rings are a worthwhile investment for precise scope mounting.
2. Gathering Your Tools and Preparing Your Workspace
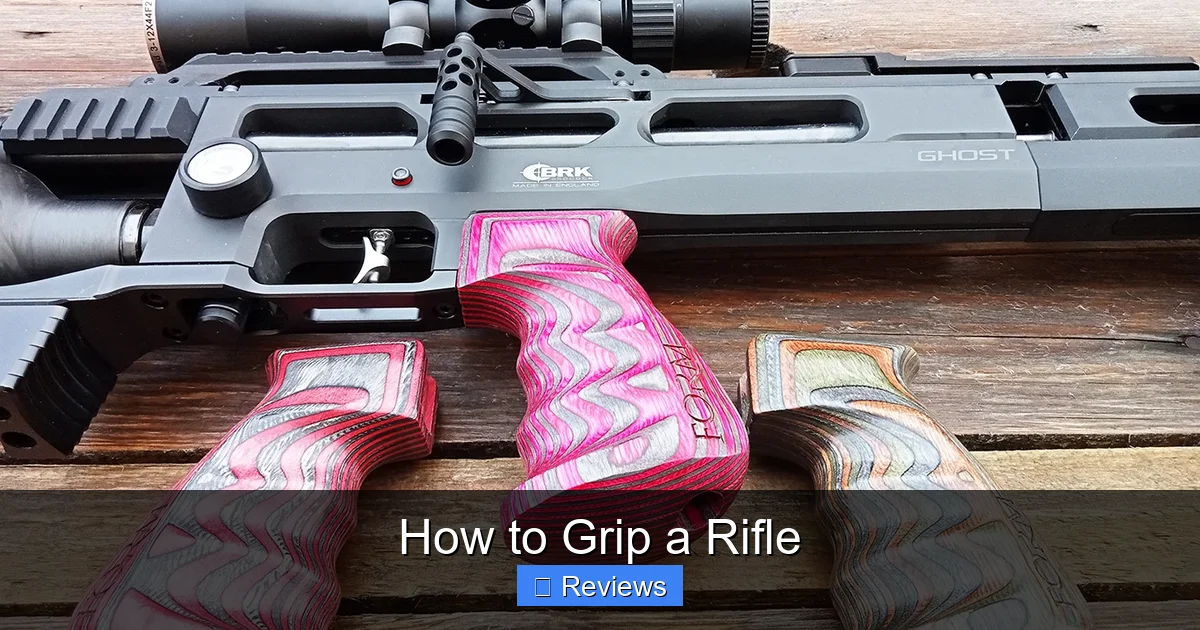
Visual guide about How to Mount a Rifle Scope
Image source: cdnammoclub.ammoforsale.com
Before you start to mount a rifle scope, you absolutely need to have the right tools laid out. Rushing to find a screwdriver halfway through the process is a recipe for frustration and potential damage.
Essential Tools List
- Gun Vise or Rest: This is non-negotiable. A sturdy vise or rest will hold your rifle securely, leaving both hands free to work.
- Torque Wrench: A high-quality inch-pound torque wrench is perhaps the most critical tool. Under-torquing can cause your scope to shift; over-torquing can strip screws, warp scope tubes, or damage components. Get one that measures in inch-pounds, as most scope mounting specs are in this unit.
- Assorted Bits and Wrenches: You’ll need bits for hex screws (Allen), Torx screws, and sometimes flathead screws. Make sure they are good quality to avoid stripping screw heads.
- Non-Permanent Threadlocker (e.g., Loctite 242 Blue): This is essential for base screws and sometimes ring screws to prevent them from loosening under recoil.
- Rubbing Alcohol or Degreaser: For cleaning surfaces.
- Cotton Swabs and Clean Rags: For applying cleaner and wiping surfaces.
- Bubble Level Set (or Reticle Leveling Tool): To ensure your scope’s reticle is perfectly horizontal. You’ll need one for your rifle’s receiver and one for the scope.
- Rosin or Scope Mounting Paste (Optional): Some people like to use this between the rings and the scope for added friction, though it’s less critical with properly torqued rings.
- Lapping Kit (Optional, but Recommended for Precision): Used to ensure perfect concentricity of your scope rings.
Setting Up Your Bench
Find a clean, well-lit, and stable workspace. A workbench or sturdy table is ideal. Lay down a mat or cloth to protect your rifle and scope from scratches. Make sure you have plenty of room to move around your rifle and access all sides. This organized approach makes the entire scope mounting process much smoother.
3. Mounting the Scope Base
The base is the direct link to your rifle. If it’s not solid, nothing else will be. This is where precision begins when you mount a rifle scope.
Cleaning and Degreasing
Start by thoroughly cleaning the top of your rifle’s receiver and the underside of your scope base. Use rubbing alcohol or a good degreaser on a clean rag or cotton swab. You want to remove any oil, grease, or debris that might prevent a secure fit or interfere with the threadlocker. Let it dry completely.
Applying Threadlocker
Apply a small drop of non-permanent threadlocker (like Loctite 242 Blue) to the threads of each base screw. A little goes a long way. Don’t slather it on; just enough to coat the threads. This prevents screws from backing out due to recoil.
Attaching the Base and Torque Specifications
Place the base onto the receiver, aligning the screw holes. Hand-tighten all screws initially, ensuring the base sits flush. If you’re using a two-piece base, make sure they are aligned as straight as possible, though the rings will do some of the final alignment.
Now, use your torque wrench. Refer to the manufacturer’s instructions for the specific torque settings for your base screws. These typically range from 20-30 inch-pounds. Tighten the screws in a cross-pattern (if applicable) or alternately, in small increments, until each screw reaches the specified torque. For example, if the spec is 25 in-lbs, you might go to 15, then 20, then 25, moving between screws. This ensures even pressure. Once torqued, give the threadlocker some time to cure (check its instructions, usually 24 hours for full cure, but you can proceed with the rest of the mounting).
4. Attaching the Rings to the Base
With the base securely in place, it’s time to add the rings. This step ensures a stable platform for your scope.
Positioning Rings Correctly
Before attaching the ring *bottoms* to the base, determine their optimal placement.
- Picatinny/Weaver: The front ring should be as far forward as possible on the rail while still allowing for proper eye relief later. The rear ring should be placed to accommodate the scope’s body without obstructing turret adjustments or leaving the scope unsupported. Generally, you want to space them as far apart as possible to maximize stability, but still keep them on the rail.
- Traditional Bases: If you have a two-piece base, you’ll place one ring on each base.
Ensure the cross-bolt (for Picatinny/Weaver rings) is pushed forward against the forward edge of the slot on the rail. This helps prevent the scope from shifting under recoil. Tighten the cross-bolts or side plates that attach the ring bottoms to the base, again using a torque wrench if specified by the manufacturer (usually around 65 in-lbs for steel rings, less for aluminum).
Lapping Rings (Optional, but Recommended for Precision)
Ring lapping is a process where you use an abrasive lapping bar to lightly remove material from the inside of your scope rings, ensuring they are perfectly concentric and provide maximum surface contact with the scope tube.
- Why do it? Manufacturing tolerances, even in good rings, can lead to slight misalignments. Lapping ensures a perfect fit, reducing stress on the scope tube (which can affect accuracy or damage the scope) and providing a stronger hold.
- When to do it? If you’re building a precision rifle or want the absolute best connection.
- How to do it? Attach the ring bottoms, then use a lapping bar with lapping compound, turning it back and forth through the rings. Clean thoroughly afterward.
Even if you skip lapping, ensure your rings are aligned as best as possible. Some modern “matched” or “precision-machined” rings may not require lapping.
5. Installing the Scope: The Heart of the Process
Now for the exciting part – putting the scope in the rings! This is where you bring everything together to truly mount a rifle scope.
Achieving Proper Eye Relief
This is perhaps the most critical personal adjustment.
- Loosely place the scope into the bottom halves of the rings, with the ring caps off.
- Shoulder the rifle naturally, as if you were about to take a shot. Close your eyes, then open them.
- Adjust the scope forward or backward in the rings until you see a full, clear sight picture without any black “crescent moons” around the edge. You should be able to do this comfortably and consistently.
- Have a friend help you if possible. They can move the scope while you maintain your cheek weld and tell them when the eye relief is perfect.
- Once you find the sweet spot, make a mental note or lightly mark the scope’s position.
This step is incredibly important for comfort, fast target acquisition, and avoiding “scope bite” from recoil.
Leveling the Reticle
An un-leveled reticle will cause your point of impact to shift horizontally when you adjust elevation, leading to frustrating misses at longer ranges. This is a must-do when you mount a rifle scope.
- Using Bubble Levels: Place one bubble level on a flat part of your rifle’s receiver (or the Picatinny rail). Level the rifle in your vise.
- Then, place a second bubble level on the flat top of your scope’s turret housing (some scopes have a small flat area for this).
- Rotate the scope gently in the rings until both bubbles are perfectly level.
- Using a Reticle Leveling Tool: There are specialized tools that project a line or use plumb bobs to align the reticle with the bore or a vertical reference. Follow the manufacturer’s instructions for these tools.
- The String/Plumb Bob Method: Hang a plumb bob or a weighted string in front of your rifle at a distance. Look through the scope and rotate it until the vertical crosshair aligns perfectly with the string.
Take your time here. A level reticle is crucial for long-range accuracy.
Final Tightening of Ring Caps
With eye relief set and the reticle leveled, it’s time to secure the scope.
- Place the top halves of the ring caps over the scope tube.
- Insert all screws and hand-tighten them until they just make contact.
- Before final torquing, ensure there’s an even gap between the top and bottom halves of the rings on both sides. This indicates even pressure. If one side is pinched, loosen and reposition slightly.
- Using your torque wrench, tighten the ring cap screws in a cross-pattern (diagonal screws) in small, even increments until you reach the manufacturer’s specified torque. Typical settings for ring cap screws range from 15-25 inch-pounds. NEVER exceed these specs, as you can crush the scope tube.
- As you tighten, keep an eye on your reticle level. Sometimes, tightening can cause slight rotation. Make tiny adjustments if needed before the final torque.
Once all screws are torqued, give the whole setup a firm but gentle wiggle. The scope should feel absolutely rock-solid.
6. Post-Mounting Checks and Next Steps
You’ve done the hard work to mount a rifle scope, but you’re not quite finished. A few final checks and preparatory steps are essential.
The “Wiggle Test”
After everything is tightened, grab the scope firmly and try to wiggle it back and forth, up and down. There should be absolutely no movement. If there is, recheck all torque values for the base and rings. A loose scope will never hold zero.
Boresighting (Getting on Paper)
Boresighting is a quick way to get your scope’s reticle roughly aligned with your rifle’s bore, so your first shots at the range aren’t wildly off target.
- Laser Boresighter: An optical tool that inserts into the muzzle and projects a laser dot down the bore. You then adjust your scope’s reticle to align with this dot.
- Optical Boresighter: Clamps to the muzzle and allows you to look through a prism to align the bore with a grid.
- Manual Boresighting (Bolt-Action Rifles): For bolt-action rifles, remove the bolt and look through the bore at a distant target (e.g., 50-100 yards). Without moving the rifle, adjust your scope’s windage and elevation turrets until the center of the reticle is aligned with the target you see through the bore.
Boresighting gets you “on paper” at a close range, saving you time and ammunition at the actual zeroing range. It’s not a substitute for live-fire zeroing, but it’s a great first step after you mount a rifle scope.
Zeroing Your Rifle
This is the final step where you take your rifle to the range and fine-tune your scope’s adjustments using live ammunition.
- Start at a close range (e.g., 25 or 50 yards) to ensure your shots hit the paper.
- Fire a group of three shots.
- Adjust your scope’s windage and elevation turrets based on where your group landed relative to your aiming point. Remember, most scope adjustments move the *point of impact*, not the reticle itself. For example, if your shots are hitting low and left, you would adjust your elevation “up” and your windage “right.”
- Once you’re hitting consistently at the close range, move out to your desired zero distance (e.g., 100, 200 yards) and refine your zero.
This process should be done carefully, using a stable shooting rest, and in good conditions.
Conclusion
Congratulations! You’ve successfully learned how to mount a rifle scope and now have a firm understanding of the entire process. Taking the time to do this correctly is one of the most important steps you can take to ensure accuracy, reliability, and satisfaction from your shooting endeavors. Remember, patience and attention to detail are your best friends here.
A properly mounted scope won’t shift under recoil, won’t place undue stress on the scope tube, and will hold its zero shot after shot. This means more consistent groups, more confident shooting, and ultimately, more enjoyment from your time at the range or in the field. So, go forth, test your setup, and enjoy the fruits of your careful work. Happy shooting!
Frequently Asked Questions
What is the most common mistake people make when mounting a rifle scope?
One of the most common mistakes is failing to use a torque wrench, leading to either under-tightened screws that allow the scope to shift or over-tightened screws that can strip threads or damage the scope tube. Another frequent error is not properly leveling the reticle, which significantly impacts accuracy.
How do I choose the correct ring height for my scope?
To choose the correct ring height, you need to consider your scope’s objective lens diameter, the barrel contour, and the type of base you’re using. The goal is to get the scope as low as possible without the objective lens touching the barrel or the bolt handle hitting the scope, while also achieving a comfortable cheek weld and proper eye alignment when shouldering the rifle.
Should I use Loctite on my scope ring screws?
While commonly used on base screws, the use of Loctite on scope ring screws is sometimes debated. If your rings are torqued correctly to manufacturer specifications, Loctite often isn’t strictly necessary. However, a small amount of non-permanent (blue) threadlocker on ring screws can provide extra security, especially on high-recoil rifles.
What is ring lapping, and do I really need to do it?
Ring lapping is a process where a specialized tool is used to lightly abrade the inside surfaces of scope rings to ensure they are perfectly concentric and provide maximum contact with the scope tube. While not always strictly necessary with high-quality, precision-machined rings, lapping can reduce stress on the scope tube and improve clamping force, which is beneficial for extreme precision setups.
How do I ensure proper eye relief for a comfortable shooting position?
To ensure proper eye relief, shoulder your rifle naturally and comfortably as if you were about to shoot. With the scope loosely in the rings, slide it forward or backward until you achieve a full, clear sight picture without any “tunnel vision” or dark rings around the edges. This process should be repeated a few times to confirm consistency.
After mounting, what’s the difference between boresighting and zeroing?
Boresighting is a preliminary step to roughly align your scope’s reticle with the rifle’s bore, getting your shots “on paper” at a close range (e.g., 25-50 yards) to save ammunition. Zeroing, on the other hand, is the final fine-tuning process conducted at the shooting range using live ammunition to precisely adjust your scope so that your bullets impact exactly where the reticle indicates at a specific distance.

