Measure rifle scope height as the distance from the center of the bore to the center of the scope tube, typically 1.5–2.5 inches. Use calipers to measure from the top of the receiver to the bottom of the scope tube, then add half the bolt diameter and half the scope tube diameter.
Why Scope Height Matters
The vertical distance between your rifle’s bore and scope center isn’t just a technical specification—it fundamentally affects how your rifle performs. Understanding scope height’s importance helps you make informed decisions when setting up your rifle.
Impact on bullet trajectory
Scope height directly influences the relationship between your line of sight and the bullet’s path. Since the bore and optic aren’t aligned, gravity causes bullets to follow an arcing trajectory. With higher mounted scopes, the angle between bore and sight line increases during zeroing. This steeper angle ensures the bullet’s path intersects your line of sight at your chosen zero distance.
At close distances (under 25 yards), your bullet hasn’t yet risen to meet your sight line. Consequently, shots impact lower than your aiming point. This is particularly significant in close-quarters situations where shooters must compensate for this offset.
How it affects point of impact
While scope height doesn’t change your rifle’s inherent mechanical accuracy, it significantly impacts your practical accuracy in the field. Higher mounted scopes require larger holdover adjustments at ranges beyond 300 yards compared to lower-mounted options.
Furthermore, when you zero at closer distances (25 yards), calculations at longer ranges become less reliable. For instance, if you zero at 25 yards with a 0.1-inch error in scope height measurement, your impact point could be off by approximately 18 inches at longer distances.
Why proper alignment is critical
Proper sight alignment forms the foundation for consistent, precise shooting. When your scope height is correctly matched to your shooting style and rifle configuration, you maintain a natural, repeatable cheek weld—essential for long-range performance.
With incorrect height, you’ll likely lift your head unnaturally to achieve sight alignment, creating inconsistent positioning and potential neck strain. This inconsistency ultimately hurts your practical accuracy despite your rifle’s inherent precision remaining unchanged.
For optimal results, consider these factors when measuring scope height:
- Your stock’s comb height and natural head position
- Primary shooting positions and comfort
- Objective lens size and clearance requirements
- Mounting system type and personal preference
In essence, proper scope height measurement isn’t about changing your bullet’s physics—it’s about creating conditions for you to shoot consistently and comfortably.
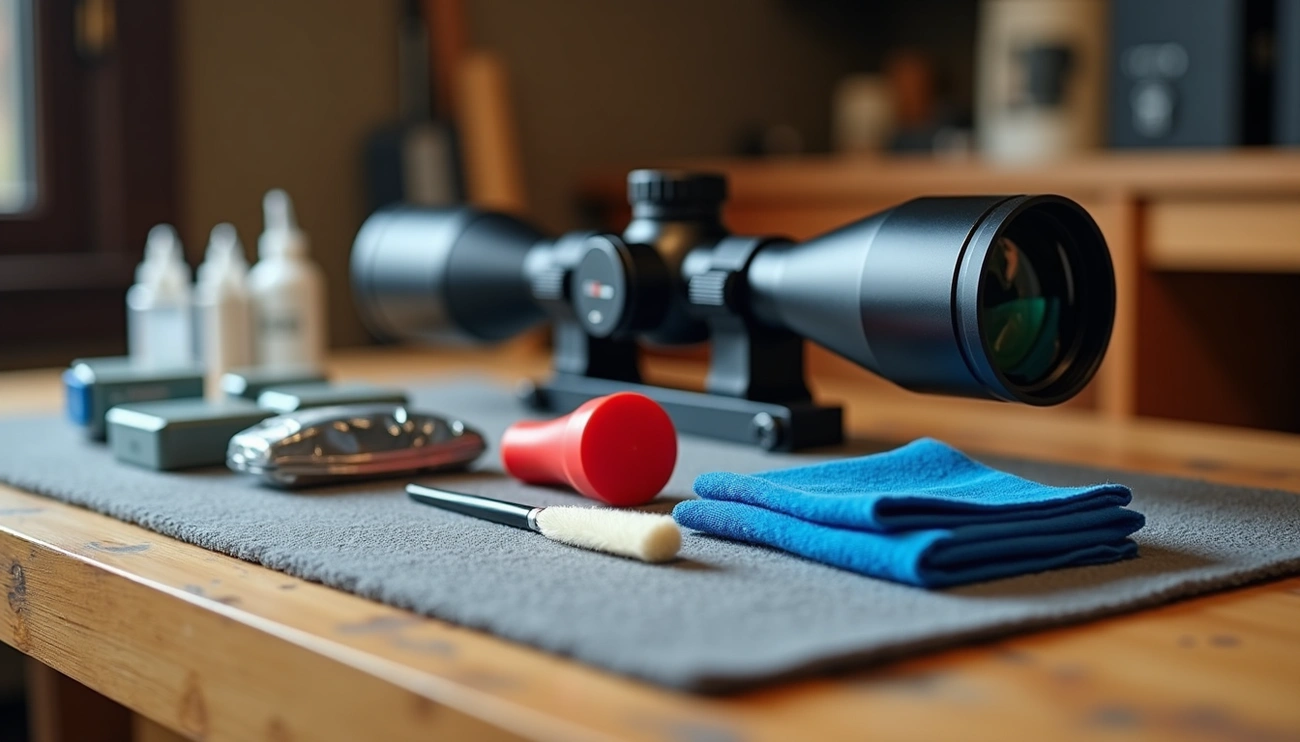
Tools You Need for Measuring Scope Height
Accurate scope height measurement requires precision and the right equipment. Getting your hands on these essential tools beforehand ensures you’ll complete this task efficiently without frustrating do-overs.
Calipers and measuring tape
Digital calipers are the cornerstone of scope height measurement. These precision instruments allow you to:
- Measure the distance between the center of the bore and the top of the barrel
- Determine the space between the scope tube center and the top of the scope base
- Take precise measurements of both bolt and ocular bell diameters
For most accurate results, opt for digital calipers rather than analog ones. They provide readings in thousandths of an inch, essential for the precision required in scope mounting.
Dummy round or barrel plug
A caliber-specific dummy round or barrel plug serves as a reference point for your measurements. This tool helps verify the critical distance between your bore center and barrel top. Using a dummy round eliminates guesswork by providing a physical representation of your rifle’s centerline. In some methods, shooters might alternatively use a cleaning rod with a bore guide to establish this centerline.
Scope level and mounting kit
Proper scope alignment is impossible without a quality scope level. This small yet vital device attaches to your scope tube, ensuring your crosshairs are correctly aligned with the barrel. Moreover, you’ll need appropriate mounting tools such as a torque wrench or a specialized scope mounting kit designed for your specific rifle configuration. These tools help maintain consistent pressure during installation, preventing scope drift over time.
Calculator and flat work surface
Once measurements are taken, you’ll need a calculator to determine the final scope height. The calculation typically involves finding the radius of both the bolt and scope tube, then adding these values to the measured distance between them. Finally, a stable, flat work surface forms the foundation of your entire setup. Without this seemingly obvious requirement, even the most expensive tools won’t yield accurate results. A sturdy gun rest or dedicated workbench ultimately helps ensure stability throughout the measuring process.
How to Measure Rifle Scope Height Step-by-Step
Proper measuring of rifle scope height requires precision and a methodical approach. With these steps, you’ll achieve the perfect mounting height for optimal performance.
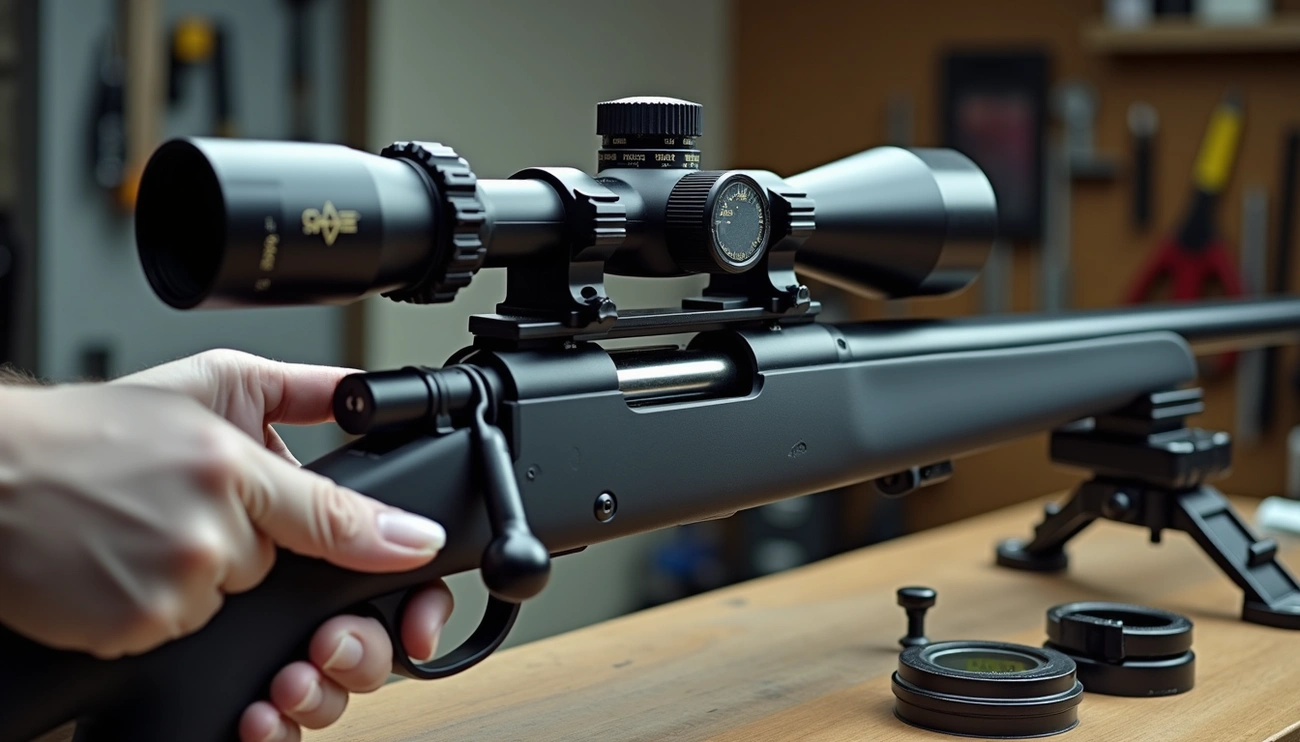
Secure the rifle and ensure it’s unloaded
Initially, place your rifle on a flat, stable work surface or in a gun vise. Before proceeding, visually inspect the chamber and physically check to confirm the firearm is completely unloaded. Ensuring the barrel is level will provide more accurate measurements throughout the process.
Measure from bore center to scope center
Next, determine the center-to-center measurement using one of these methods:
- Back out the bolt until it aligns with your scope’s ocular lens
- Measure the bolt diameter (typically around 0.69 inches) and divide by two for the radius
- Measure the ocular bell diameter and divide by two
- Add these measurements plus the distance between the top of the bolt and bottom of the optic
For gas-operated rifles, you’ll measure the bolt carrier group instead (typically around 0.91 inches in diameter).
Use the formula for objective lens clearance
Once measurements are taken, apply this formula to calculate proper ring height: (Objective diameter + 2-4mm) ÷ 2 = scope ring height
For example, with a common 3-9x40mm scope using a 3mm scope body: (40 + 3) ÷ 2 = 21.5mm center height.
Verify ring height with tube diameter
Before finalizing, consider your scope tube diameter (usually 1-inch/25.4mm or 30mm). Half of a 1-inch tube equals 12.7mm. Add this to your calculations to verify sufficient clearance between the objective lens and barrel.
Double-check with calipers before mounting
Ultimately, use your calipers to verify all measurements prior to permanent mounting. This final step prevents costly errors and ensures your scope won’t contact the barrel during firing. Always leave a small clearance gap between the scope and barrel.
Factors That Influence Scope Height Accuracy
Beyond basic measurements, various elements influence the accuracy of your scope height measurement. Understanding these factors ensures your rifle performs optimally in all situations.
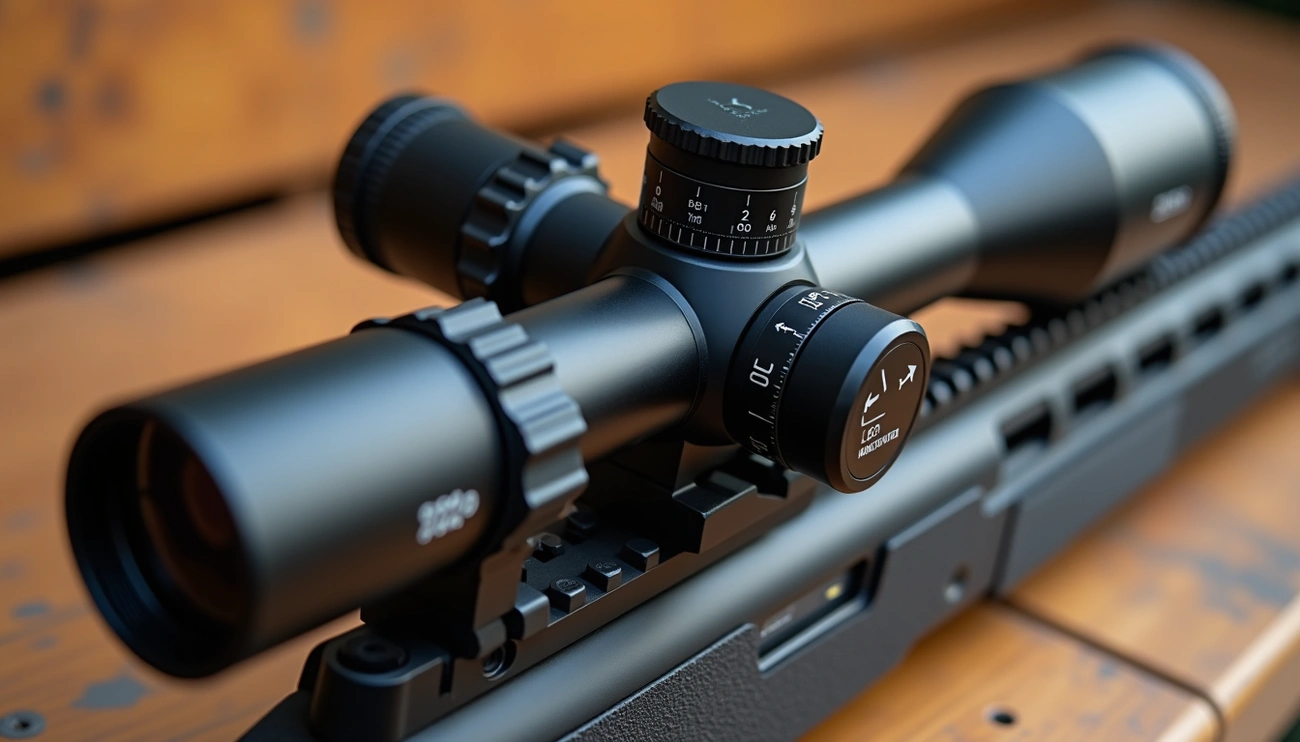
Objective lens size
The diameter of your scope’s objective lens markedly affects mounting height requirements. Larger objective lenses (50mm vs 42mm) typically necessitate higher scope mounts to prevent contact with the barrel. Contrary to popular belief, larger objectives don’t widen your field of view—that’s determined by the eyepiece design. However, when using high-powered optics in low light, a 50mm objective lens offers advantages albeit at the cost of increased bulk.
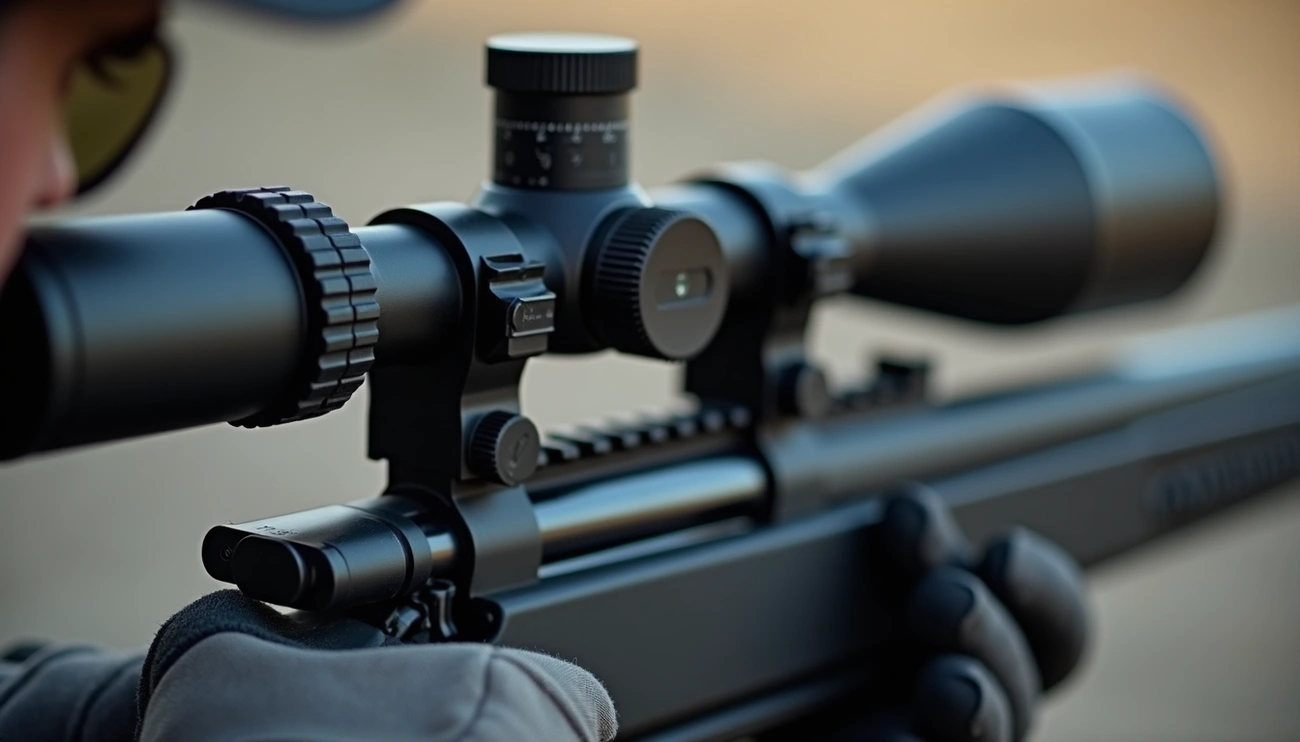
Eye relief and shooting position
Eye relief—the distance between the scope’s eyepiece and your eye—directly impacts scope height. Scopes with longer eye relief typically require higher mounting. Your primary shooting position also dictates optimal height; prone shooters generally benefit from slightly lower mounts, whereas those shooting from benches or standing positions often need medium to high rings for proper ergonomics.
Mounting system and ring type
Different mounting systems contribute to varying scope heights. One-piece mounts typically sit higher than other types. Likewise, precision long-range shooting generally works best with medium to high rings, providing comfortable positioning behind large objective lenses. For hunting applications, medium rings usually offer the ideal balance between quick target acquisition and comfort.
Personal comfort and cheek weld
Ultimately, achieving consistent cheek weld remains crucial for practical accuracy. When a scope sits too high, you’ll lift your head unnaturally, creating inconsistent alignment and potential neck strain. Conversely, mounting too low forces your neck downward uncomfortably and might cause scope bite during recoil. The perfect height puts you in a natural, repeatable position behind your scope.
Conclusion
Accurate scope height measurement stands as a fundamental aspect of proper rifle setup. Throughout this guide, we’ve examined how this seemingly small detail significantly impacts your shooting performance and comfort. Consequently, taking the time to properly measure and mount your scope will pay dividends in improved accuracy and shooting experience.
Remember that the ideal scope height depends on several factors unique to you and your rifle. Your shooting position, physical build, and intended application all play crucial roles in determining the optimal measurement. Therefore, don’t simply copy another shooter’s setup—find what works best for your specific situation.
Most importantly, using the right tools makes all the difference. Digital calipers, dummy rounds, and proper mounting equipment ensure precision when measuring the critical center-to-center distance. Additionally, double-checking measurements before final installation prevents costly mistakes and potential damage to your equipment.