Level a rifle scope by securing the rifle in a vise and leveling the action or rail with a bubble level. Set the scope in the rings and align the vertical crosshair with a plumb line or leveling tool. Torque the ring screws to manufacturer specifications, typically 15–25 inch-pounds, while re-checking alignment.
What Does Leveling a Rifle Scope Really Mean?
Many shooters mistakenly believe that leveling a scope simply means making it flat relative to the ground. However, proper scope leveling involves something far more precise and important for accuracy.
Why ‘level’ doesn’t mean flat to the earth
Unlike a carpenter’s level that measures against gravity, leveling a rifle scope actually means aligning it correctly with your rifle’s bore axis. The goal is not to make the scope perfectly horizontal to the earth, rather to establish a consistent shooting reference where the vertical crosshair aligns with the true up-down axis of your rifle. This alignment ensures that when you make adjustments, they translate correctly to bullet impact.
The role of vertical reticle alignment
Reticle alignment refers to the orientation between the vertical crosshair of your scope and the vertical plane running through the centerline of your rifle’s chamber. When properly installed, the vertical line of your reticle should precisely overlay the vertical plane running through your barrel’s centerline. This becomes increasingly critical as shooting distance increases, since even minor misalignment will result in horizontal point-of-impact errors. Furthermore, a properly aligned reticle ensures that when you dial elevation adjustments, your bullet impacts will follow a true vertical line rather than drifting left or right.
How canting affects long-range accuracy
Canting refers to tilting your rifle (and consequently your scope) either left or right during shooting. Even slight canting dramatically affects accuracy at distance. At 300 yards, a mere 5-degree cant will result in an error of 3.7 inches. For long-distance shooters, the effects become severe – a single degree of cant can displace your shot by approximately 5 inches at 1000 yards.
Consider this: if your rifle is level and your shot is centered on a 6-foot square target at 1000 yards, you could actually miss the entire target just by canting your rifle. This happens because when you cant your rifle while adjusting for elevation, you’re no longer just moving on the vertical axis – you’re introducing horizontal deviation as well.
That’s why professional shooters are obsessed with maintaining perfect vertical alignment, especially for long-range shooting where precision matters most.
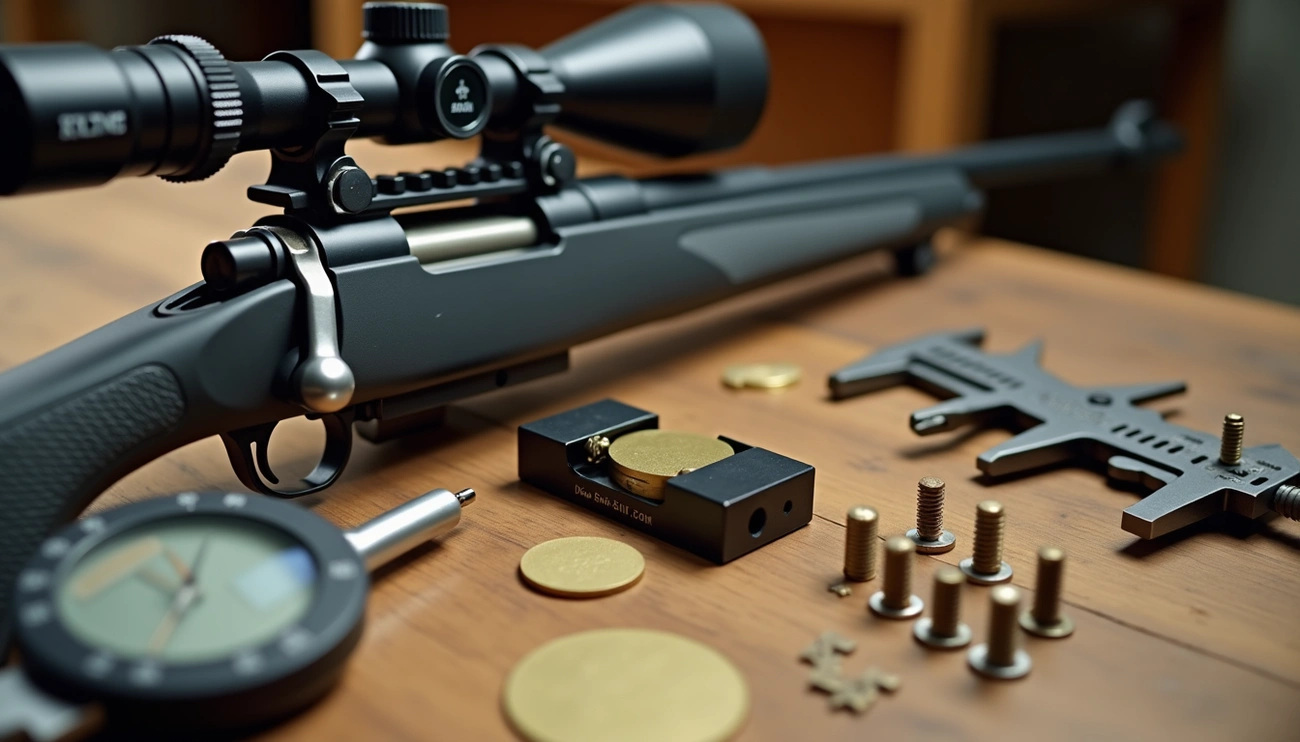
Step-by-Step Guide to Leveling a Scope
Proper scope leveling requires methodical execution. Here’s a practical process I’ve refined after mounting countless optics.
Secure the rifle in a stable rest
Begin by placing your rifle in a gun vise or on a stable shooting rest. This provides the foundation for the entire setup process. For optimal results, position the rifle so it’s roughly parallel to the ground. The stability of your mounting surface directly impacts alignment precision, so ensure your setup doesn’t shift during the mounting process.
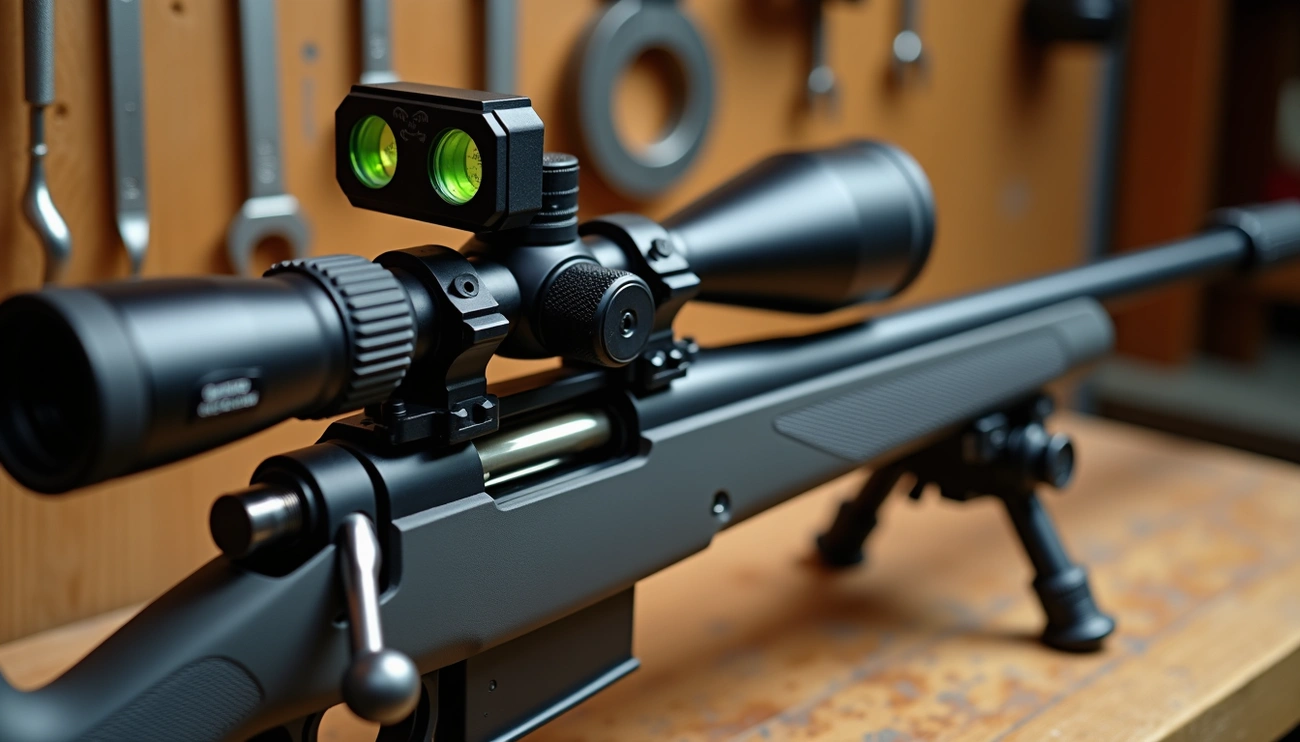
Use a bubble level on the receiver
Place a quality bubble level on the flat part of your receiver or action. Adjust the rifle until the bubble centers perfectly between the lines. This establishes your reference point for all subsequent alignments. Double-check this level frequently throughout the process as even slight movements can throw off your alignment.
Roughly align the scope in the rings
Position the scope in the rings and tighten the screws just enough that the scope can still rotate and move forward/backward. Look through the scope and adjust until the reticle appears naturally upright. At this stage, ensure your eye relief is comfortable by setting the scope at mid-magnification and confirming proper eye position.
Use a plumb line for vertical alignment
Hang a plumb bob or weighted string at your intended zero distance. This creates a perfect vertical reference. While maintaining your rifle’s level position, align the vertical crosshair precisely with the plumb line. This technique ensures true gravitational alignment rather than just alignment with the rifle.
Tighten screws evenly while checking level
Tighten the ring screws gradually in a crisscross pattern (similar to tightening lug nuts on a car wheel). Make small adjustments of approximately ½ turn at a time. Constantly check your levels during tightening as the scope often shifts slightly during this process. Maintain even gaps between the upper and lower ring halves to prevent scope tube stress.
Simple Tricks the Pros Use
Professional shooters have developed several ingenious methods to level scopes efficiently without expensive equipment. These techniques ensure precision while saving time and money.
Using a plumb bob and string
The plumb bob method relies on basic physics to establish a true vertical reference. I hang a weighted string (the plumb bob) from a nail with white paper taped to the wall for better visibility. First, I ensure both the rifle platform and receiver are level using a small bubble level. Looking through the scope, I rotate it until the vertical crosshair aligns perfectly with the plumb line. This alignment ensures the reticle is truly vertical according to gravity.
Triangle scope leveling tool
Triangle leveling tools offer a straightforward approach for scopes with a flat bottom section. These affordable tools (under $20) consist of a base that fits into the Picatinny rail grooves. As I push the triangular wedge into the groove, it contacts the flat part of the scope. Once tight and flush against both surfaces, the scope is properly leveled to the rail.
Reverse projection with flashlight
This clever trick projects your reticle onto a wall. I place my rifle in a steady rest facing a wall with a plumb line. Then I shine a bright flashlight through the objective end of the scope. The reticle appears projected on the wall, allowing me to rotate the scope until the vertical crosshair perfectly aligns with the plumb line. For maximum precision, I position the rifle at a distance that makes the reticle projection large yet crisp.
Magnetic and rail-mounted levels
Purpose-built magnetic levels attach directly to flat surfaces on your scope. The Fix It Sticks Bubble Level Set includes a magnetic turret level for easy on/off use plus a NATO/Pic rail level that doubles as an anti-cant device. These precision-machined aluminum levels feature premium UK-sourced bubble vials for definitive accuracy.
Using a scope leveling kit effectively
Commercial leveling kits streamline the process through consistent methodology. After securing the rifle on a level surface, I check for reticle skew at full magnification. Next, I loosen the leveling kit lock nuts, make fine adjustments with half-turns of an Allen wrench, then re-tighten evenly on both sides. Throughout tightening, I continuously monitor level status to prevent shifting.
Common Mistakes and How to Avoid Them
Even experienced shooters make critical errors when leveling scopes. Recognizing these common pitfalls can save you frustration and improve your accuracy.
Over-tightening scope rings
One of the most frequent mistakes is cranking down ring screws too tightly. Excessive torque damages both the scope’s appearance and internal components, limiting dialing range and compromising zero-holding ability. For most rifles, ring screws need only 15-18 inch-pounds of torque and base screws merely 14 inch-pounds. Higher-end scopes often include specific torque recommendations—follow these precisely. Additionally, never use thread-locking compounds as they act as lubricants, increasing risk of over-tightening. Always tighten screws incrementally in a cross-pattern to distribute pressure evenly.
Ignoring rifle cant during setup
A slight tilt in your rifle creates major point-of-impact shifts. At 1,000 yards, a single degree of cant produces approximately 5 inches of lateral displacement. Even more dramatically, an 8-degree cant could move your impact point by 40 inches—enough to miss a 72-inch target entirely. Proper leveling throughout setup prevents these errors. Remember that small errors become exponentially larger as distance increases.
Leveling using the top turret
Although convenient, using turret caps as leveling references is fundamentally unreliable. Tests consistently show that turret tops aren’t necessarily square with the scope’s internal components. The bottom of the turret provides more reliable reference than the top, although traditional plumb bob methods remain superior. Avoid this shortcut entirely for precision shooting.
Skipping eye relief check
Improper eye relief leads to distorted images, black rings in your field of view, or worse—scope eye. When mounting your scope, set it to mid-magnification and verify comfortable positioning before final tightening. Afterward, test at various positions you might use in the field. Never compromise this step, particularly with powerful rifles where recoil can cause serious injury.
Conclusion
Proper scope leveling stands as a fundamental aspect of accurate shooting that deserves far more attention than it typically receives. Throughout this guide, we’ve seen how even minimal misalignment can dramatically affect shots at distance, potentially causing complete misses at ranges beyond 500 yards.
First and foremost, remember that true scope leveling means aligning the reticle with your rifle’s bore axis rather than simply making it level to the ground. This crucial distinction separates casual shooters from those who consistently hit their targets at extended ranges.
The techniques covered here—from using plumb lines to specialized leveling tools—all serve one purpose: ensuring your vertical adjustments remain truly vertical. After all, a scope canted just a few degrees will introduce horizontal deviation whenever you dial for elevation.