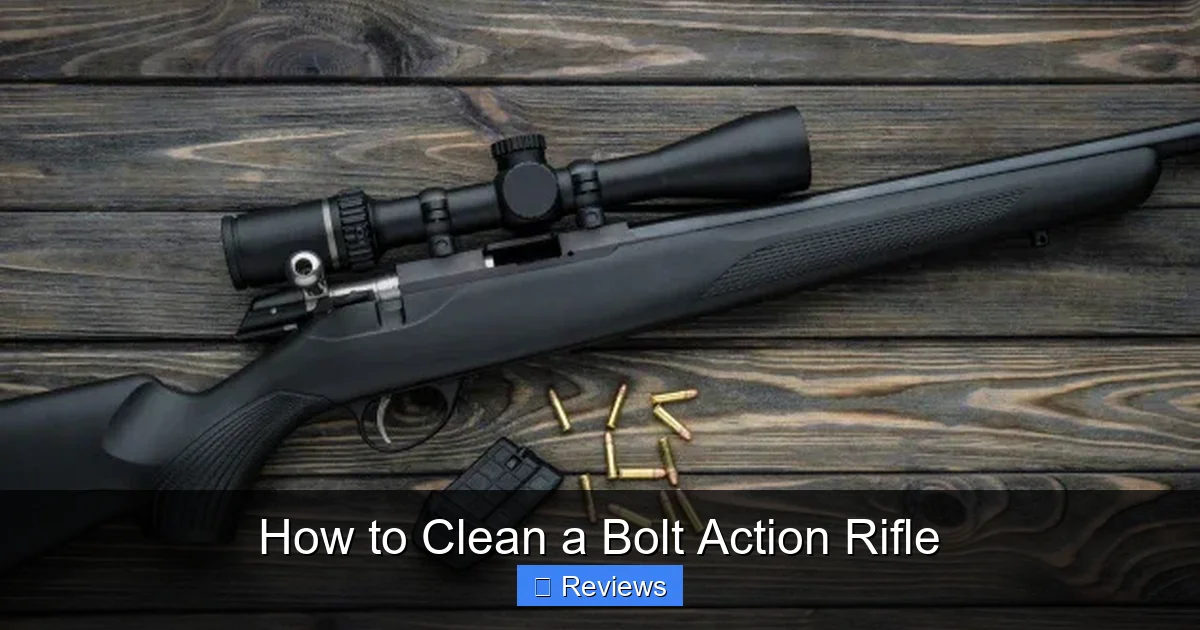
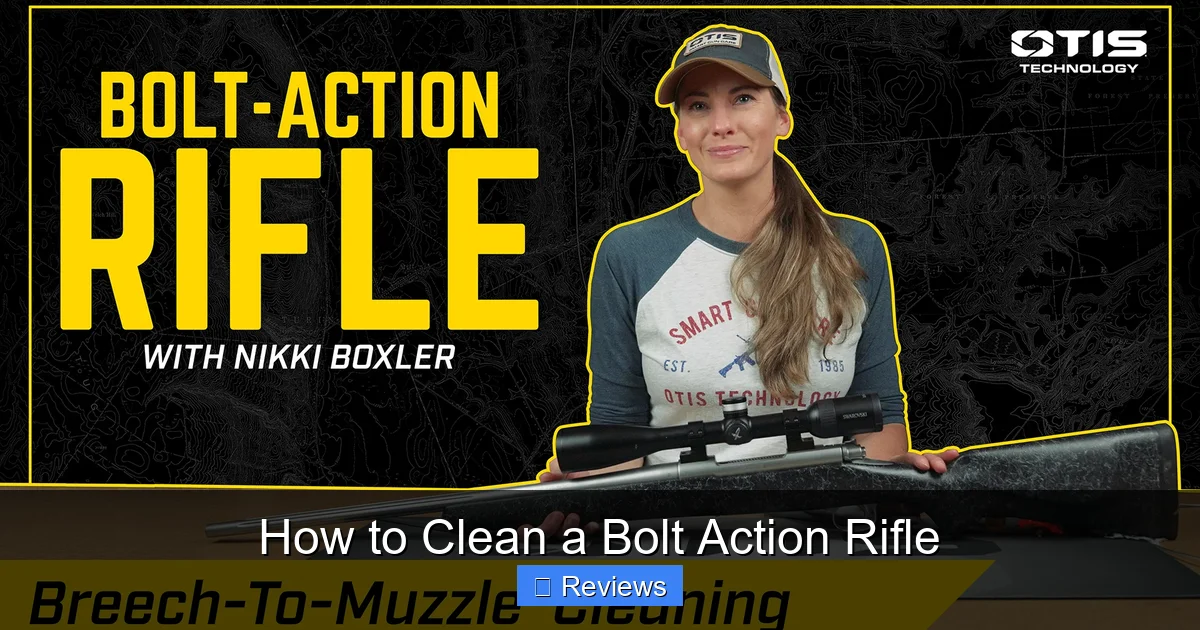
Properly cleaning your bolt action rifle is crucial for its performance, safety, and longevity. This comprehensive guide walks you through every step, from gathering essential supplies and ensuring safety to disassembling components, thorough cleaning, lubrication, and reassembly. By following these straightforward instructions, you’ll master how to clean a bolt action rifle and keep your firearm in pristine, reliable condition for years to come.
There’s a unique satisfaction that comes from owning a bolt action rifle. Perhaps it’s the timeless design, the precision engineering, or the unparalleled accuracy they offer. Whether you’re an avid hunter, a target shooter, or simply a firearm enthusiast, your bolt action rifle is more than just a tool; it’s an investment, a companion, and often, a source of great pride. To ensure it continues to perform at its peak, shot after shot, season after season, one critical task stands above all others: proper cleaning and maintenance.
Many new rifle owners feel a bit intimidated by the thought of disassembling and cleaning their precision firearm. Visions of lost springs, confusing parts, and damaging delicate components can lead to procrastination or, worse, improper care. But here’s the good news: learning how to clean a bolt action rifle isn’t nearly as complicated as it might seem. With a little guidance, the right tools, and a patient approach, you’ll soon find it to be a rewarding part of responsible firearm ownership. This comprehensive guide will walk you through every step, demystifying the process and empowering you to keep your bolt action rifle in pristine condition.
Key Takeaways
- Safety First: Always confirm your bolt action rifle is unloaded and cleared of ammunition before beginning any cleaning or maintenance.
- Gather the Right Tools: Having the correct cleaning kit, solvents, oils, and brushes specifically designed for firearms will make the process much smoother and more effective.
- Regular Cleaning is Essential: Don’t wait for your rifle to malfunction; consistent cleaning after each use or extended storage prevents carbon buildup and maintains accuracy.
- Focus on the Bore: The barrel bore is the heart of your rifle’s accuracy. Pay meticulous attention to removing copper and carbon fouling from it using appropriate methods.
- Don’t Over-Lubricate: While lubrication is vital, excessive oil or grease can attract dirt and grime. Apply a thin, even coat only where metal-on-metal contact occurs.
- Understand Your Rifle: Familiarize yourself with your specific bolt action rifle’s field stripping procedures as outlined in its owner’s manual for safe and effective cleaning.
Quick Answers to Common Questions
How often should I clean my bolt action rifle?
You should clean your bolt action rifle after every shooting session, especially if you’ve fired many rounds or used corrosive ammunition. Even if you haven’t shot it, a light cleaning and re-oiling is a good idea every few months, especially before and after extended storage.
Can I use household cleaners to clean my rifle?
No, generally avoid household cleaners. They can contain harsh chemicals that might damage your rifle’s finish, stock, or even the metal itself. Stick to firearm-specific solvents and lubricants, which are formulated to be safe and effective for gun materials.
What is “field stripping” a bolt action rifle?
Field stripping refers to disassembling a firearm into its major components for basic cleaning and maintenance, without requiring special tools or detailed technical knowledge. For a bolt action rifle, this typically means removing the bolt and any detachable magazines.
Do I need to clean the barrel every time I shoot?
Yes, cleaning the barrel (the bore) is arguably the most important part of routine maintenance. Carbon and copper fouling build up quickly and significantly impact accuracy and can lead to corrosion if left unattended.
Is it okay to over-lubricate my bolt action rifle?
No, over-lubricating can be detrimental. Excessive oil attracts dirt, dust, and carbon, which can turn into a gritty paste and actually cause malfunctions. Apply a thin, even layer of lubricant only to metal-on-metal contact points, and wipe off any excess.
📑 Table of Contents
Why Cleaning Your Bolt Action Rifle Matters So Much
Before we dive into the “how-to,” let’s quickly understand the “why.” A clean bolt action rifle isn’t just about aesthetics; it’s fundamentally about performance, safety, and longevity. Ignoring proper maintenance can lead to a host of problems that compromise your shooting experience and potentially the rifle itself.
Maintaining Accuracy and Performance
Every time you fire your bolt action rifle, tiny residues are left behind in the barrel and action. These include carbon from the burning gunpowder, copper or lead from the bullet jacket, and unburnt powder grains. Over time, these residues build up, creating fouling. Fouling can dramatically affect your rifle’s accuracy, causing inconsistent bullet flight paths and larger groups on target. A clean bore ensures the bullet travels unimpeded, maintaining the precision your bolt action rifle is known for.
Ensuring Reliability and Safety
A dirty rifle is an unreliable rifle. Carbon buildup in the bolt, receiver, and firing pin channel can impede the smooth operation of the action, leading to failures to feed, extract, or even fire. In extreme cases, excessive fouling can create dangerous pressures within the barrel. Keeping your bolt action rifle clean ensures all moving parts operate as intended, minimizing the risk of malfunctions and enhancing overall safety during use.
Extending the Lifespan of Your Firearm
Rust and corrosion are the sworn enemies of any firearm. Left unchecked, moisture, carbon, and metallic fouling can accelerate wear and tear on critical components, especially the bore and the bolt. Regular cleaning removes these corrosive agents and allows for the application of protective oils, safeguarding your investment from deterioration. A well-maintained bolt action rifle can last for generations, a testament to proper care.
Gathering Your Essential Cleaning Supplies
Before you begin the cleaning process, it’s crucial to have all your tools and supplies organized and within reach. Think of it like cooking – you wouldn’t start without all your ingredients. Having the right kit makes the job easier, more efficient, and more effective. You can often find pre-packaged bolt action rifle cleaning kits, but here’s a breakdown of what you’ll need:
Visual guide about How to Clean a Bolt Action Rifle
Image source: cdn11.bigcommerce.com
Cleaning Rod
Invest in a high-quality, one-piece cleaning rod that is long enough for your rifle’s barrel and coated to prevent scratching the bore. A rotating handle is a nice feature, allowing the brush or jag to follow the rifling twist. Avoid multi-piece rods if possible, as they can flex and scratch the bore.
Bore Brushes
You’ll need a bronze (or brass) bore brush of the correct caliber for your rifle. Bronze is softer than steel but harder than copper/lead, making it effective at scrubbing out fouling without damaging the barrel. Also, consider a nylon brush for less aggressive cleaning or for applying solvents.
Patches and Jags
Cleaning patches are essential. Choose cotton flannel patches that are appropriately sized for your rifle’s caliber to fit snugly through the bore. A pointed jag or a slotted patch holder will be needed to push the patches through the barrel. A pointed jag, which pierces the patch, generally gives a tighter fit and better cleaning action.
Cleaning Solvents
You’ll need a good quality bore cleaner, specifically designed to remove carbon and copper fouling. Many modern solvents are effective at dissolving both. Some specialized solvents target only copper. Read the instructions carefully, as some require longer dwell times or specific application methods.
Firearm Lubricant/Oil (CLP)
A high-quality firearm oil (often called gun oil or CLP for Cleaner, Lubricant, Protector) is vital for proper function and corrosion protection. CLP products clean, lubricate, and protect in one step, making them very convenient. Alternatively, you can use separate lubricants and rust inhibitors.
Other Useful Tools
- Nylon utility brush or old toothbrush: Excellent for scrubbing carbon from the bolt face, receiver, and other accessible areas.
- Cotton swabs/Q-tips: Perfect for reaching small crevices and applying lubricant precisely.
- Microfiber cloths or lint-free rags: For wiping down exterior surfaces and drying components.
- Rubbing alcohol: Good for degreasing metal surfaces before re-oiling, particularly if you encounter sticky residue.
- Safety Glasses: Essential to protect your eyes from splashes of solvents or small particles.
- Rubber or Nitrile Gloves: Protect your hands from harsh chemicals and prevent transferring oils/dirt to the rifle.
- Work mat or newspaper: To protect your work surface from solvents and grime.
- Bore guide: A simple, inexpensive plastic or metal sleeve that fits into the rifle’s chamber end, guiding the cleaning rod straight into the bore and protecting the chamber and rifling from wear. Highly recommended.
Safety First: Preparing Your Rifle for Cleaning
Before any cleaning or maintenance begins, firearm safety is paramount. This isn’t just a recommendation; it’s a non-negotiable rule. Always follow these steps diligently:
Unload and Clear Your Rifle
The very first thing you must do is ensure your bolt action rifle is completely unloaded. Visually inspect the chamber and magazine well. Remove any detachable magazines. Open the bolt and look into the chamber to confirm it’s empty. Feel inside the chamber with your finger to be absolutely certain. There should be no ammunition anywhere near your cleaning area. This step must be performed every single time you handle a firearm for maintenance.
Choose a Well-Ventilated Work Area
Firearm cleaning solvents and oils can have strong fumes. Work in a well-ventilated area, preferably outdoors or near an open window, to avoid inhaling these chemicals. Lay down your work mat or newspapers to catch any drips and protect your surfaces.
Don Your Protective Gear
Put on your safety glasses to protect your eyes from solvent splashes and potential debris. Wear nitrile or rubber gloves to shield your hands from chemicals and prevent skin irritation.
Disassembling Your Bolt Action Rifle for Cleaning
For a thorough cleaning, you’ll need to field strip your bolt action rifle. “Field stripping” refers to disassembling the rifle into its major components for cleaning and basic maintenance, without needing special tools or expertise. You typically won’t need to remove the barrel from the receiver or disassemble the trigger group for routine cleaning. Always consult your specific rifle’s owner’s manual for exact instructions, as procedures can vary slightly between models.
Removing the Bolt
This is usually the main component you’ll remove for cleaning. Most bolt action rifles have a simple procedure:
- Ensure the rifle is unloaded (as previously emphasized!).
- Open the bolt fully to the rear.
- Depress the bolt release lever or button (its location varies by manufacturer – check your manual).
- While holding the release, slide the bolt rearward and out of the receiver.
Once the bolt is removed, set it aside on your work mat. You might also remove a detachable magazine if your rifle has one.
Cleaning the Bolt Action Rifle Components
Now that your rifle is field stripped, we can begin the actual cleaning process. We’ll tackle each major component systematically.
The Barrel Bore: The Heart of Accuracy
This is the most critical part to clean thoroughly. Use a bore guide if you have one; it protects the chamber and helps align the cleaning rod.
- First Pass (Solvent Application): Insert a pointed jag with a generously saturated patch of bore solvent into the bore from the chamber end (breech). Push it slowly and steadily through the barrel and out the muzzle. *Never reverse direction with a dirty patch or brush inside the bore, as this can drag fouling back and potentially scratch the crown or rifling.* Remove the patch once it exits the muzzle.
- Scrubbing (Bore Brush): Attach a bronze bore brush of the correct caliber to your cleaning rod. Push the brush through the bore from the breech end to the muzzle, then pull it back out the muzzle. Repeat this 5-10 times. This mechanical action helps loosen stubborn carbon and copper fouling.
- Second Pass (Fouling Removal): Remove the bore brush and reattach a clean jag. Push 2-3 fresh, solvent-dampened patches through the bore, one at a time, to remove the loosened fouling. The patches will likely come out very dirty.
- Repeat and Inspect: Continue alternating between brushing and running solvent-dampened patches until the patches start coming out much cleaner – perhaps a light gray or faint blue (if copper fouling is present). You might need to let the solvent “dwell” in the bore for 5-10 minutes between brushing cycles, as per the solvent’s instructions, especially for heavy copper fouling.
- Final Dry Patches: Once the patches are mostly clean, run several dry patches through the bore until they emerge completely clean and dry.
- Light Lubrication (Optional): If storing the rifle, run one final patch lightly dampened with gun oil or CLP through the bore to provide a thin protective layer. This is especially important in humid environments. If shooting soon, you might skip this or run a dry patch to remove excess oil before firing.
The Bolt: Precision and Power
The bolt accumulates carbon, especially on the bolt face, locking lugs, and firing pin channel.
- Initial Wipe Down: Use a lint-free rag or microfiber cloth dampened with solvent or CLP to wipe down the exterior of the bolt.
- Scrubbing Stubborn Areas: Use your nylon utility brush or old toothbrush to scrub carbon from the bolt face, extractor, and locking lugs. Q-tips can help get into tight spots.
- Firing Pin Channel (Caution): Some bolts can be disassembled further to clean the firing pin channel, but this is usually only necessary for very heavy fouling or specific malfunctions. Consult your manual if you choose to do this. For routine cleaning, a few drops of solvent and a Q-tip might suffice for the exposed parts.
- Lubrication: Apply a very thin layer of gun oil to the locking lugs, the bolt body (where it rides in the receiver), and any other metal-on-metal contact points. Wipe off any excess.
The Receiver and Magazine Well
The receiver houses the bolt and connects the barrel to the stock. The magazine well (if applicable) can also collect debris.
- Wipe Down: Use a solvent-dampened rag or Q-tips to wipe down the interior surfaces of the receiver. Pay attention to the bolt raceways where the bolt slides.
- Scrubbing: Use your nylon brush to dislodge any carbon or debris from hard-to-reach areas.
- Magazine Well: If your rifle has a detachable magazine, use a dry brush or rag to clean out the magazine well. Clean the magazine itself, especially the follower and spring, if it’s dirty.
- Lubrication: Apply a very light coat of oil to the bolt raceways inside the receiver.
Exterior Surfaces and Stock
Don’t forget the outside!
- Metal Exterior: Wipe down all external metal surfaces with a lightly oiled rag (CLP works well). This protects against rust and gives your rifle a clean look.
- Stock (Wood/Synthetic): For wooden stocks, a slightly damp cloth followed by a wood-specific polish or oil (if needed) is appropriate. For synthetic stocks, a damp cloth is usually sufficient. Avoid harsh solvents on the stock, as they can damage the finish.
Lubrication, Reassembly, and Final Inspection
Once everything is clean and dry, it’s time to put your bolt action rifle back together and ensure it’s ready for storage or its next use.
Strategic Lubrication
Lubrication is crucial for smooth operation and corrosion protection, but more isn’t always better. Over-lubricating can attract dirt and debris.
- Bolt: A very thin film of oil on the bolt body where it contacts the receiver, on the locking lugs, and a tiny drop on the camming surfaces.
- Receiver: A thin film of oil on the bolt raceways inside the receiver.
- Barrel (Bore): If storing, a *very* light coat of oil inside the bore, applied with a patch. For immediate shooting, ensure the bore is dry.
- Other Points: A tiny drop on the trigger components (if accessible without disassembly) and any other metal-on-metal friction points.
Wipe off any obvious excess oil from all surfaces.
Reassembly
Reassemble your bolt action rifle by reversing the disassembly steps.
- Carefully insert the bolt back into the receiver, ensuring it aligns correctly with the bolt raceways and the bolt release mechanism.
- Close the bolt fully.
- Reinsert any detachable magazines.
Function Test and Final Inspection
Once reassembled, perform a quick function test (dry fire, *pointing in a safe direction!*) to ensure the bolt cycles smoothly, the trigger resets, and the safety operates correctly. Visually inspect the entire bolt action rifle one last time. Ensure all components are properly seated and no cleaning residue remains in critical areas. If anything feels off, double-check your assembly.
Conclusion
Learning how to clean a bolt action rifle might seem daunting at first, but with practice, it becomes a routine, almost meditative process. Regular, thorough cleaning is not just about maintaining the pristine appearance of your firearm; it’s about preserving its accuracy, ensuring its reliability, and extending its life for countless shooting adventures to come. By following these steps, you’re not just cleaning a rifle; you’re upholding a tradition of responsible firearm ownership and ensuring your trusted bolt action rifle remains a dependable companion for years to come. So, gather your supplies, find a comfortable spot, and take pride in keeping your bolt action rifle in top-notch condition.
🎥 Related Video: All-People Survival Game: Man Activates Hint System, Instantly Sees Through Every Item’s Secrets!
📺 Panda Fantasy Chronicles
Comic #ComicSystem #ComicOverview #Comic #Comic #Novel #Anime #JapaneseAnimation #ScienceFiction #System …
Frequently Asked Questions
What’s the best way to clean heavy copper fouling from my rifle’s bore?
For heavy copper fouling, use a dedicated copper solvent. Apply it as per the manufacturer’s instructions, often allowing it to “dwell” in the bore for an extended period (10-30 minutes, or even longer for extreme cases) to chemically dissolve the copper. Follow up with vigorous brushing and patches, repeating as necessary, until blue patches (indicating copper removal) stop appearing.
Should I clean my rifle from the breech or the muzzle?
Always try to clean your bolt action rifle from the breech (chamber) end towards the muzzle. This prevents fouling from being pushed back into the action and, more importantly, protects the rifle’s crown (the very end of the barrel where the bullet exits), which is crucial for accuracy.
What if my cleaning patches come out black or blue even after multiple passes?
Black patches indicate carbon fouling, while blue or greenish patches indicate copper fouling. If they continue to come out discolored, it means there’s still fouling present. Keep cleaning, using your bore brush and solvent, and allowing adequate dwell time for the solvent to work. Patience is key for a truly clean bore.
Do I need to clean the firing pin channel?
For routine cleaning, a full disassembly of the bolt to clean the firing pin channel is usually not necessary unless your rifle has been exposed to extreme dirt or water, or if you experience light primer strikes. A light application of solvent and a Q-tip to accessible areas is often sufficient. Consult your rifle’s manual for specific disassembly instructions if a deeper clean is required.
Can I store my bolt action rifle with cleaning solvent in the bore?
No, absolutely not. Cleaning solvents are designed to break down fouling, and many are corrosive if left in contact with metal for too long. Always follow up solvent application with dry patches until the bore is completely dry, and then apply a *very* light coat of gun oil for corrosion protection, especially for storage.
My rifle’s action feels gritty after cleaning. What did I do wrong?
A gritty feel usually means either there’s still some carbon or debris in the action, or you’ve over-lubricated, attracting new dirt. Thoroughly re-clean the action, ensuring all carbon is removed. Then, re-lubricate sparingly, applying only a thin film of oil to the metal-on-metal contact points, and wipe off any excess. Less is often more when it comes to lubrication.

