Calibrate a rifle scope by mounting it securely, bore sighting for initial alignment, and shooting groups to adjust the turrets. Turn windage and elevation turrets until the point of aim matches the point of impact. Finalize calibration by setting the turrets to zero and confirming reticle alignment.
Understand Your Scope Before Calibration
Before calibrating your rifle scope, understanding its key components and how they work together is essential for precise adjustments. Mastering these basics will significantly improve your calibration results.
Key parts of a rifle scope
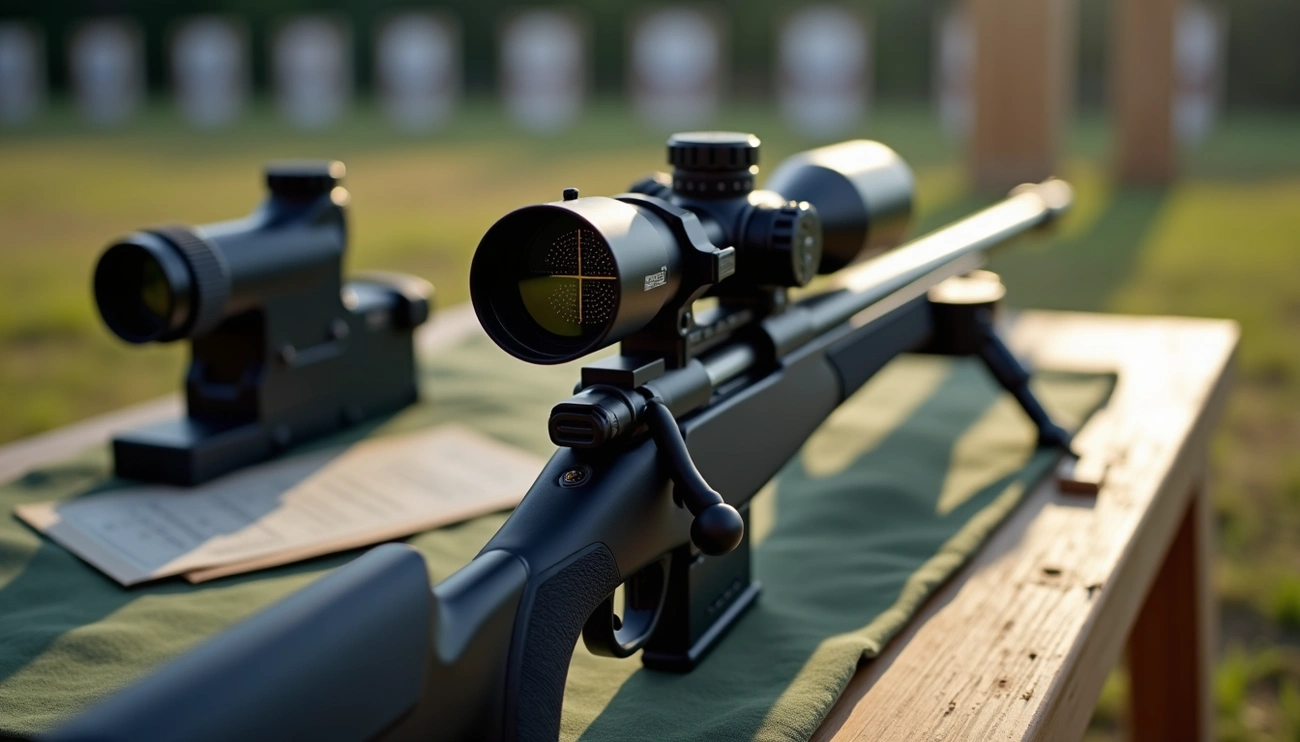
A rifle scope consists of several critical components working together. The scope body (main tube) houses the internal optics system. At the ends, you’ll find the ocular lens (eyepiece) and the larger objective lens that faces your target. The tube diameter typically comes in three sizes: 1-inch, 30mm, or 34mm.
Inside the scope, the erector tube contains the magnification lenses and reticle (crosshairs). The ocular focus adjustment allows you to focus the reticle to your eye, while the parallax adjustment aligns the target image with the reticle’s focal plane.
Additionally, the turrets are the adjustable knobs that protrude from your scope body. These crucial components allow you to fine-tune your aim with precision.
What is windage and elevation adjustment?
Elevation and windage adjustments control where your bullet strikes the target. The elevation turret sits on top of the scope and adjusts your point of impact vertically to counterbalance bullet drop. This adjustment is particularly important as distance increases because gravity pulls bullets downward during flight.
Conversely, the windage turret, located on the side of the scope, controls horizontal adjustments. This helps compensate for crosswinds that push bullets off course.
Each click of these turrets moves your point of impact by a precise measurement, typically 1/4 MOA (approximately 1/4 inch at 100 yards). Some scopes use milliradians (MRAD) instead, with different measurement values.
Scope adjustment direction: which way to turn
Understanding which way to turn your turrets is fundamental. For elevation: to move your point of impact up, turn the elevation turret counterclockwise; to move it down, turn clockwise.
For windage adjustments: to move your point of impact right, turn the turret clockwise; to move it left, turn counterclockwise.
A helpful memory aid is: “righty tighty, lefty loosey” – turning counterclockwise raises the elevation and turning clockwise lowers it. Furthermore, remember that turret adjustments change where your bullet impacts, not where your scope points.
Step-by-Step Scope Calibration Process
Proper calibration is the foundation of accuracy with any rifle. Let’s jump into the precise steps needed to make your scope work flawlessly with your firearm.
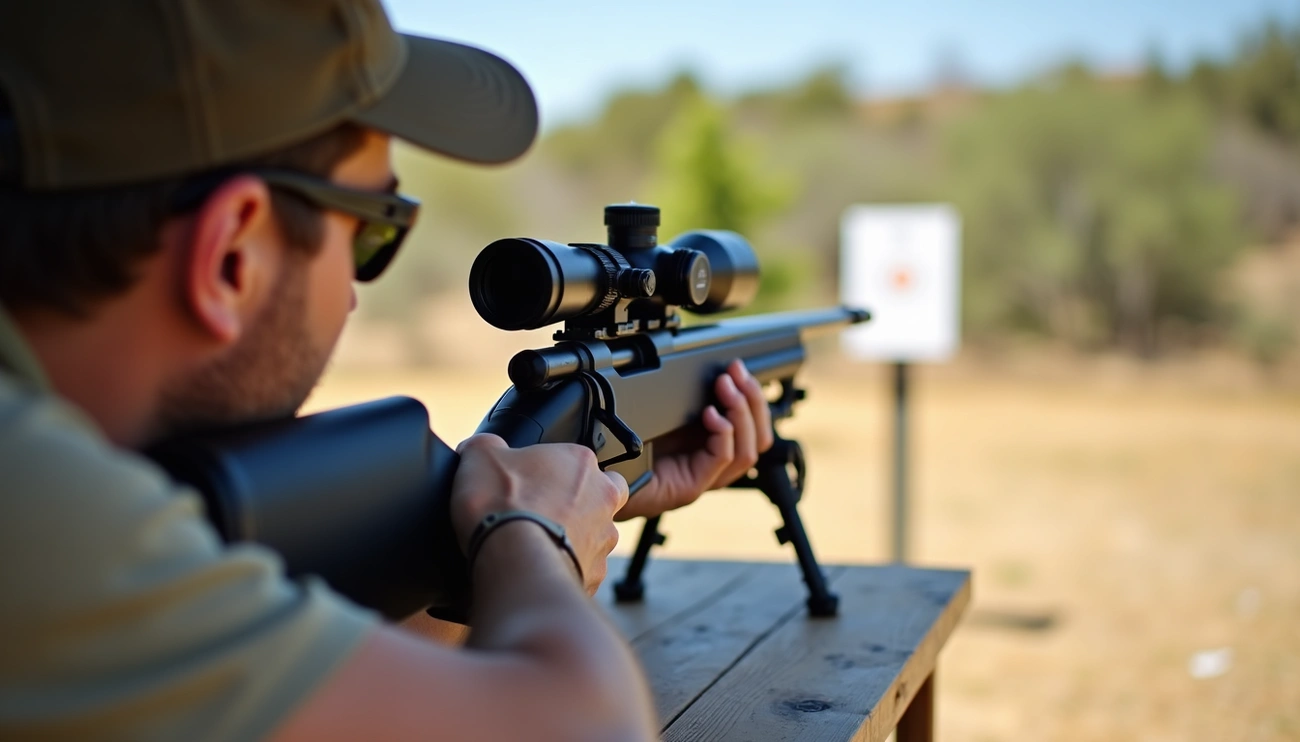
Mount the scope and level it properly
Initially, secure your rifle in a gun vise or stable rest. Place a bubble level on the action or receiver to ensure the rifle itself is perfectly level. Next, position the scope in the rings and adjust it until the reticle appears naturally upright. To fine-tune the alignment, use a plumb line or vertical reference in your environment to align the vertical reticle. Remember that an unlevel scope causes diagonal or dislocated windage and elevation adjustments, affecting accuracy at distance.
How to sight in a rifle scope at 100 yards
Begin by bore sighting your rifle to get your first shots on paper. Subsequently, start at 25 yards to confirm you’re hitting the target. Fire 3-5 careful shots to establish a baseline group, then make initial adjustments. Once centered at 25 yards, move to 100 yards and repeat the process. At 100 yards, you’ll primarily focus on elevation adjustments to account for bullet drop.
Zeroing the elevation turret
After achieving your desired zero, it’s time to reset your turret. Hold the turret firmly in place to prevent movement, then loosen the top cap by turning counterclockwise. Remove the cap completely, lift the turret assembly, and rotate until the zero mark aligns with your reference point. While maintaining position, replace and tighten the cap securely.
Adjusting windage for left-right accuracy
Windage adjustment follows the same principles as elevation but controls horizontal movement. The windage turret is typically found on the side of the scope. Use this helpful mnemonic: “I don’t want to be left out, so I’ll be right back” – rotating the turret outward adjusts left, while turning toward you adjusts right. After zeroing, reset this turret using the same method as elevation.
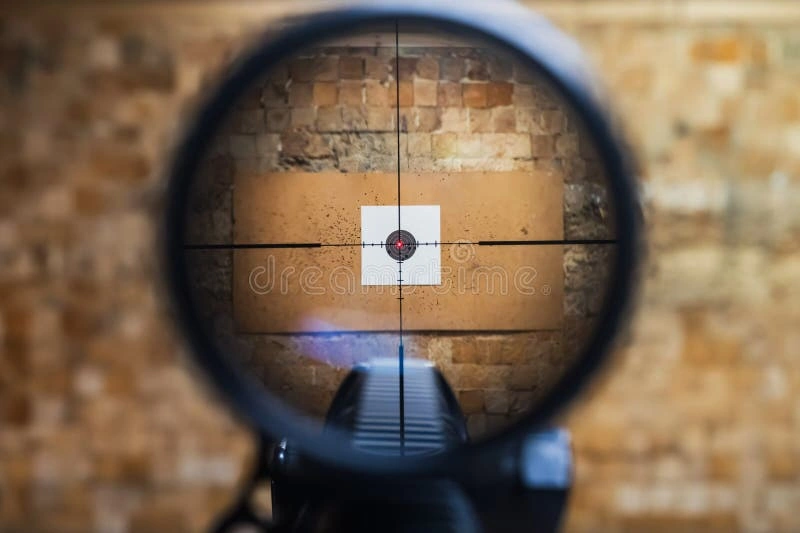
Fine-tuning parallax and target focus
Parallax occurs when the reticle and target appear on different focal planes. To correct this, first adjust your reticle focus by looking at a plain background and turning the ocular lens ring until your reticle appears sharp. Afterwards, use the side focus or adjustable objective to align the target image with the reticle plane. When properly adjusted, your reticle should remain stationary on target regardless of minor head movements.
Testing and Verifying Your Adjustments
After zeroing your rifle scope, verifying its true performance is essential. Through systematic testing, you can confirm that your scope functions exactly as expected under various conditions.
Performing the box test for accuracy
The box test is vital for confirming your scope’s tracking accuracy. First, create a target with bullseye markers in a grid pattern – for MOA scopes, place markers 10 MOA (10.47 inches at 100 yards) apart; for MRAD scopes, space them 2.5 MRAD (9 inches at 100 yards). Ensure both your rifle and target are perfectly level using a plumb line.
Beginning with a centered shot, follow this sequence while maintaining the same aiming point throughout:
- Dial up 5-10 MOA/MRAD and shoot
- Move windage right and shoot
- Dial down and shoot
- Move windage left and shoot
- Return to original zero and shoot
Your shots should form a perfect box pattern, with the final shot landing precisely where you started.
How to confirm click values (MOA or mils)
To verify your scope’s actual click values, conduct a Tall Target Test. Start with a vertical line on a target at exactly 100 yards. Fire a shot, then dial up a specific amount (e.g., 30 MOA). For MOA scopes, multiply clicked MOA by 1.047 to calculate the expected shift in inches. If your point of impact differs from the calculated value, your scope’s clicks aren’t true to specification.
Many perceived inaccuracies in long-range shooting actually stem from scopes not applying the intended adjustment.
Returning to zero after large adjustments
Quality scopes feature zero-stop mechanisms that enable quick return to your original zero. TRACT scopes include reset-to-zero features across all models, allowing confident field adjustments.
Moreover, verify your zero before hunting season and practice resetting at home – muscle memory is crucial when adrenaline runs high. Though bore sighting gets you close, only live fire confirms true zero.
Advanced Calibration for Long-Range Shooting
As distances stretch beyond 300 yards, advanced calibration techniques become essential for precision shooting. At these ranges, gravity, wind, and environmental factors dramatically affect your bullet’s path.
Using ballistic drop compensation (BDC) reticles
BDC reticles feature tiered markings beneath the primary crosshairs that compensate for bullet drop at specific distances. Rather than calculating complex adjustments, you simply place the appropriate hash mark on your target. First focal plane scopes maintain reticle accuracy across all magnifications, yet second focal plane hunting scopes require specific magnification settings for proper BDC function. To maximize your BDC’s effectiveness, confirm your zero at 100 yards, verify holdover points at various distances, and create a reference card for your specific load.
Creating a custom range card
A DOPE (Data On Previous Engagements) card serves as your personalized ballistic cheat sheet. To create one, gather essential data including:
- Bullet type and ballistic coefficient
- Verified muzzle velocity (chronograph recommended)
- Zero distance and sight height
- Environmental conditions
Laminate your completed card and attach it to your rifle for quick reference.
Adjusting for different atmospheric conditions
Environmental factors profoundly impact long-range precision. A weather meter provides critical readings of wind speed and humidity. Cold temperatures affect scope performance differently across brands—some scopes don’t adjust precisely in frigid conditions as materials expand and contract at varying rates. For maximum accuracy, create separate range cards for different elevations and temperature conditions.
Conclusion
Calibrating your rifle scope correctly makes all the difference between hitting your target precisely or missing completely. Throughout this guide, we’ve covered essential aspects of scope calibration that will significantly improve your shooting accuracy. First and foremost, understanding your scope’s components provides the foundation for all adjustments. Windage and elevation turrets control where your bullet impacts, while proper mounting ensures consistent performance.
The step-by-step process we outlined takes you from basic mounting to fine-tuning parallax adjustment. Remember that patience during this process pays dividends in accuracy later. Many shooters rush through calibration, consequently experiencing frustration in the field when shots miss their mark.
Testing remains equally important after initial setup. Box tests and click value verification confirm your scope functions as expected. This validation step often separates casual shooters from those who achieve remarkable long-range precision.