Yes, you can put a regular rifle scope on an AR-15 if the scope has enough eye relief and uses a compatible mounting system. AR-15 rifles typically require cantilever or extended mounts to achieve proper eye alignment due to the rifle’s flat-top receiver and shooting position.
Tools and Setup You Need Before Mounting
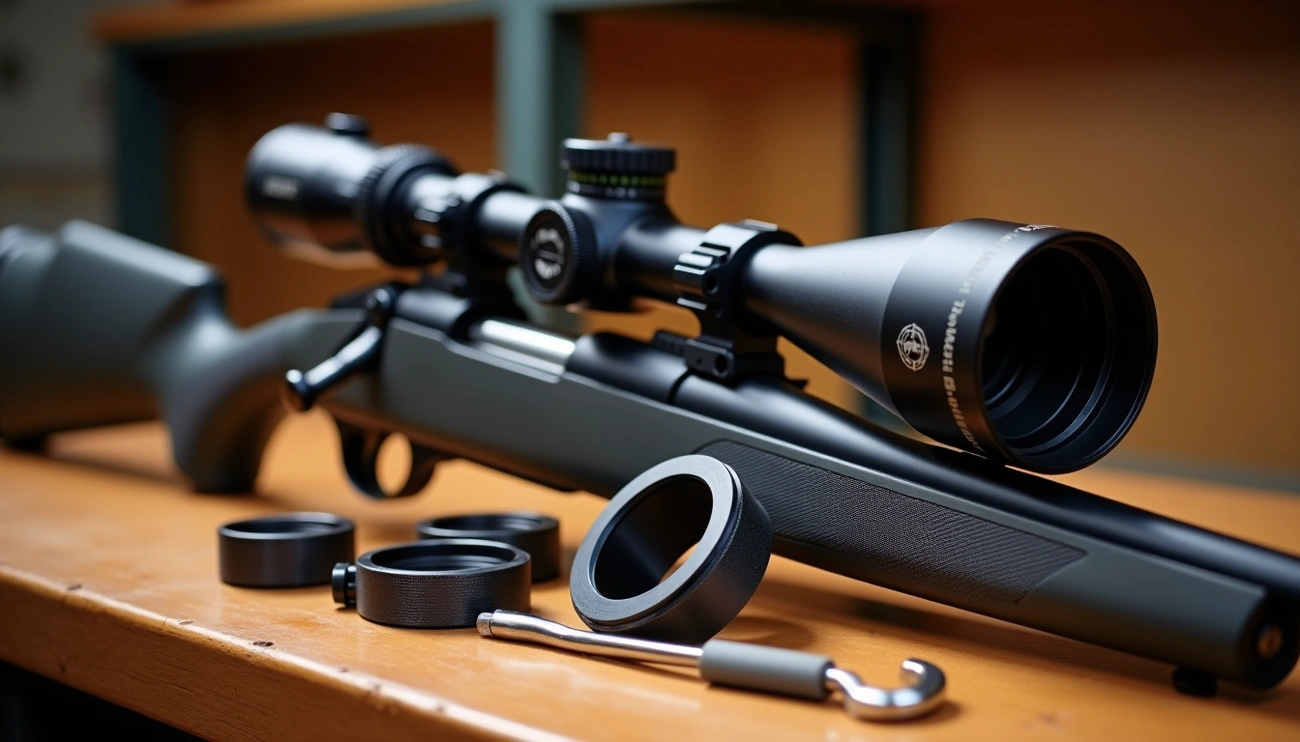
Before mounting a scope on your AR-15, gathering the right tools will make all the difference between a solid, accurate installation and one that causes frustration at the range. Let’s explore the essential equipment you’ll need for a successful mounting process.
Torque wrench and hex keys
A torque wrench stands as the most critical tool for proper scope mounting. This specialized tool ensures you apply the exact amount of pressure needed – neither too tight (which can damage your scope) nor too loose (which can cause your zero to shift during recoil). Most quality torque wrenches offer adjustable settings between 10-65 inch-pounds to match manufacturer specifications.
Additionally, you’ll need hex keys or precision screwdriver bits that match the screws on your scope rings and mount. Many mounts include basic hex keys, but investing in quality hex bit tools gives you better leverage and prevents stripping screws.
Bubble level and gun rest
Even a slight tilt in your scope can drastically affect accuracy at distance. A 3-degree cant can move your shot placement by three inches at just 400 yards. A bubble level ensures your rifle and scope are perfectly aligned on the vertical plane.
For stability during installation, a gun rest or vice provides the solid foundation needed for precise adjustments. This allows you to maintain position while checking alignment and applying torque to specifications.
Rubbing alcohol and cleaning patches
Overlooking this simple item can compromise your entire installation. Rubbing alcohol and cleaning patches allow you to remove oils, fingerprints, and debris from mounting surfaces. Clean contact between your rail, mount, and scope rings creates maximum friction and prevents shifting during recoil.
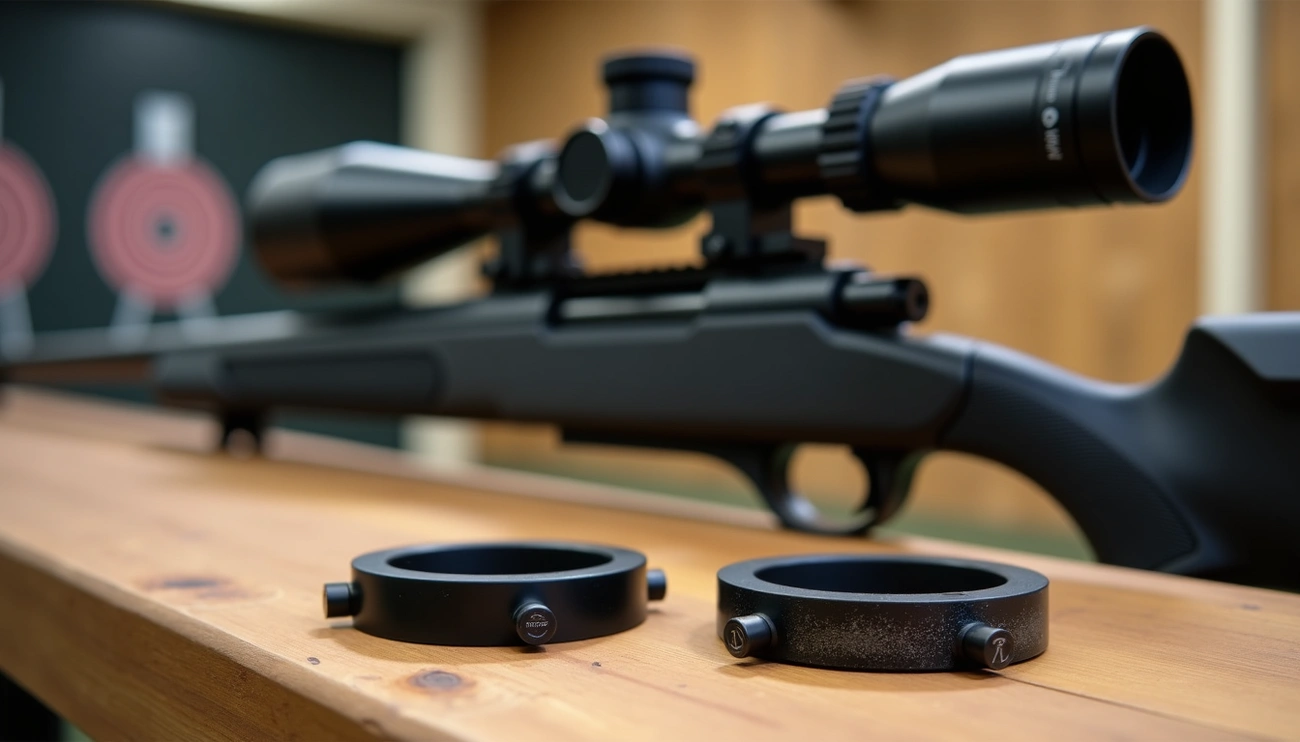
Choosing the right AR15 scope mount
The foundation of your optic system begins with selecting the appropriate mount. One-piece scope mounts offer simplified installation while providing the cantilever position many AR-15 shooters prefer.
Premium mounts like the Geissele Super Precision utilize four shear lugs across seven Picatinny sections, creating up to 1,400 pounds of clamping force per bolt combination. This security far exceeds what traditional lever mounting systems can offer.
When selecting a mount, verify compatibility with your specific rail system and scope tube diameter (typically 1-inch or 30mm). The right match ensures proper eye relief and maintains zero through countless firing cycles.
Step-by-Step: How to Mount a Regular Scope on an AR-15
Mounting a regular rifle scope on your AR-15 isn’t complicated if you follow a systematic approach. Let’s break down this process into manageable steps that ensure your optic performs reliably under all conditions.
Unload and secure your rifle
Safety comes first whenever handling firearms. Initially, remove the magazine from your AR-15 and verify the chamber is completely empty. Double-check everything – this step cannot be rushed. After confirming your weapon is clear, place it securely in a shooting rest or gun vise to prevent any movement during the mounting process. A stable platform is essential for precise scope installation.
Clean the rail and mounting surfaces
Next, prepare all mounting surfaces by removing any oils or residue. Take cleaning patches soaked in rubbing alcohol and thoroughly wipe down the rail, mount, screws, and other components. This cleaning step is crucial because excess oil can allow components to shift under recoil, compromising accuracy.
Attach the mount to the upper receiver
Position the scope mount atop the upper receiver – specifically avoiding placement that bridges between the upper receiver and free-floating rail. Such positioning would add unwanted stress to your rifle’s tube. Hand-tighten the mount first to confirm proper placement before final torquing. Subsequently, use your torque wrench to tighten according to manufacturer specifications.
Place and adjust the scope
With the mount secured, place your optic onto it, ensuring the rings sit on the flat surface of the scope tube. Position the top portion of the rings over the optic but don’t fully tighten yet. The scope should still be slightly movable to allow for eye relief adjustments.
Tighten rings using an X-pattern
Finally, tighten the ring screws in an “X” or criss-cross pattern similar to how you’d tighten lug nuts on a vehicle. This method ensures even pressure distribution around the scope tube. Furthermore, maintain equal gaps on both sides of each ring while tightening. Leave just enough space to make final adjustments before completing the mounting process.
Proper Scope Placement on AR15: Getting Eye Relief Right
Eye relief stands as the cornerstone of proper scope placement on any AR-15 rifle. Getting this aspect right determines both your shooting comfort and accuracy.
What is eye relief and why it matters
Eye relief refers to the optimal distance between your eye and the rear lens of your rifle scope where you can see a clear, full image without shadows or distortion. For AR-15 tactical scopes, this distance typically ranges between 2.5″ to 4.0″, slightly shorter than standard hunting scopes. This measurement essentially creates a “safety zone” for your eye.
Proper eye relief matters for three critical reasons. First, it prevents the dreaded “scope bite” where recoil drives the scope into your eyebrow. Second, it ensures consistent sight picture for improved accuracy. Third, it allows for rapid target acquisition, especially important with AR-15s designed for tactical applications.
How to test and adjust for eye relief
Testing eye relief requires a methodical approach:
- With your unloaded AR-15, close your eyes and shoulder the rifle naturally
- Open your eyes – you should immediately see a full sight picture
- If you notice vignetting or shadows, loosen the scope rings and adjust position
- Set eye relief at your scope’s highest magnification setting, as this is where the eye box is tightest
Remember to wear the same gear (tactical vest, clothing) during this test that you’ll use when shooting.
Avoiding scope shadow and black rings
Scope shadow – those annoying black rings or tunnel vision effect around the edges – indicates improper eye relief. This occurs primarily when your eye is either too close or too far from the scope.
To eliminate shadow, ensure your cheek weld remains consistent each time you shoulder the rifle. Some shooters find it helpful to add a small foam marker on their stock as a reference point. Moreover, check that your scope isn’t mounted too high, forcing you to lift your cheek off the stock.
Leveling and Final Adjustments for Accuracy
Proper alignment makes all the difference between hitting your target consistently or missing at distance. Even a small 5-degree cant can cause errors of 3.7 inches at just 300 yards.
Leveling the rifle and reticle
First, secure your AR-15 in a stable rest and ensure the rifle itself is level. The vertical crosshair must align perfectly with the rifle’s bore axis; otherwise, elevation adjustments will cause shots to land on a tilted line rather than a vertical one. For precision shooting beyond 500 yards, reticle alignment tolerance should be within ±1 degree to prevent missed shots.
Using a bubble level correctly
Place your bubble level on the flat part of the rifle tube, verifying the rifle is perfectly level. Afterward, align your reticle’s vertical crosshair with a plumb line or vertical doorframe. Once aligned, place the bubble level atop your optic to confirm proper scope alignment.
Torqueing to manufacturer specs
Most scope manufacturers recommend between 15-18 inch-pounds of torque for ring screws. Tighten in a criss-cross pattern, gradually increasing torque while frequently checking level.
Why you shouldn’t use thread locker
Never apply thread locker to scope ring screws! This changes torque values from dry to wet threads, potentially causing over-tightening that damages your scope. Manufacturer torque specs assume dry threads.
Final reticle alignment check
Verify your reticle alignment one last time before finishing. Look through your scope at your vertical reference and confirm the crosshair remains perfectly aligned.
Conclusion
Mounting a regular rifle scope on your AR-15 certainly requires attention to detail, but we’ve shown that it’s entirely achievable with the right approach. Throughout this guide, we’ve highlighted the importance of proper tools, correct mounting techniques, and precise adjustments that make all the difference in your shooting accuracy.
Remember, your scope mounting process begins with safety and preparation. Consequently, taking time to gather quality tools like torque wrenches and bubble levels will pay dividends in shooting performance. Most importantly, clean mounting surfaces create the foundation for a solid installation that won’t shift during recoil.
Eye relief stands as perhaps the most critical factor for both comfort and accuracy. Therefore, we recommend testing this carefully before finalizing your mount position. A few minutes spent properly positioning your scope now prevents both painful “scope bite” and frustrating accuracy issues later.